Japan Road Bike
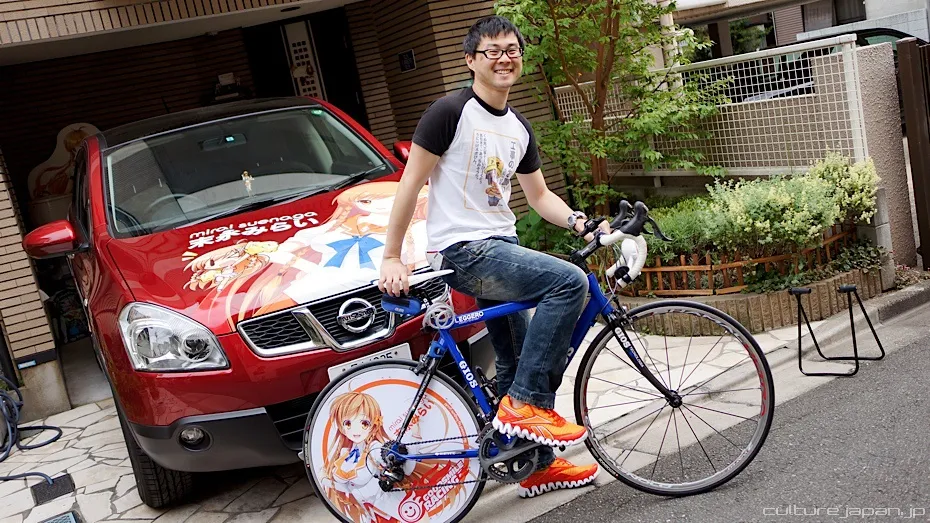
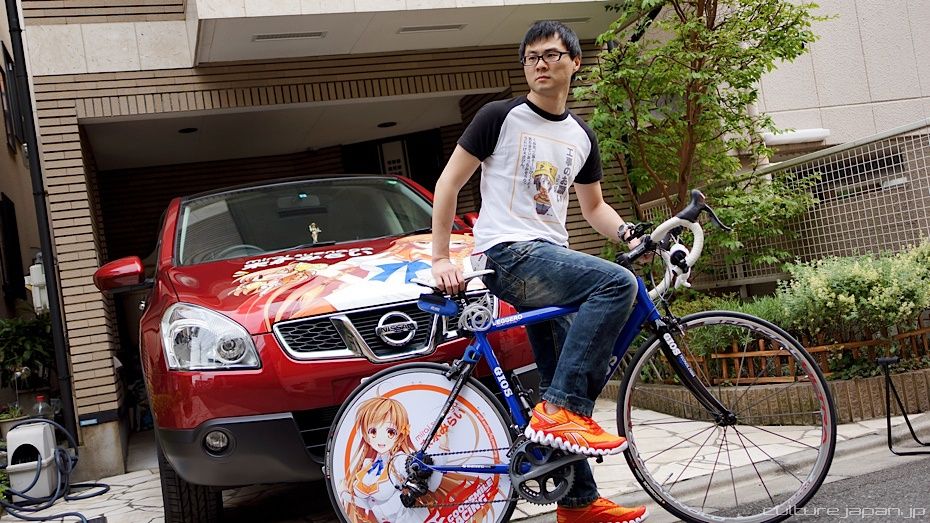
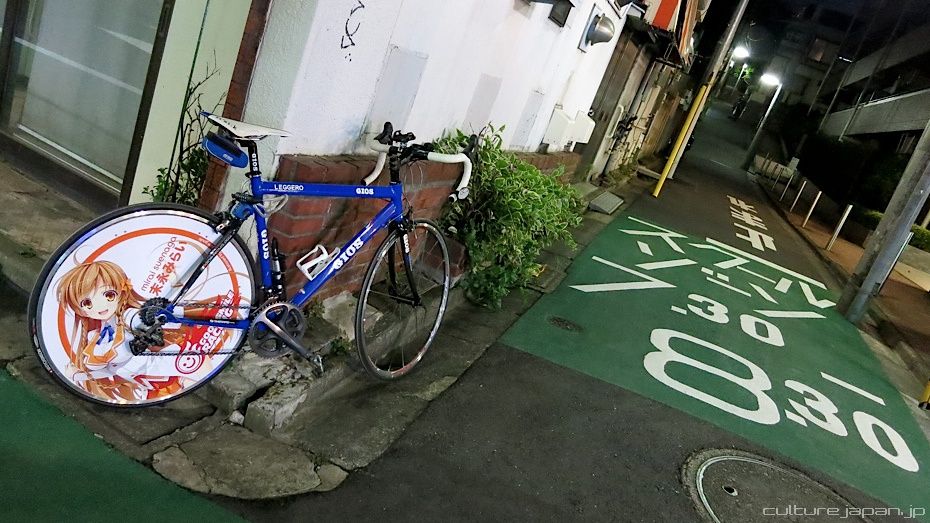
I skipped the Itachari and made two Itasha instead - the Nissan March and recently the Nissan Dualis - but! The circle had to be complete so I recently made my road bike into a Mirai Suenaga Itachari.
An Itachari ] is the word to describe a bike that is decorated with moe 2D girls. The kanji 痛 (ita) when prefixed to an object usually means that its covered in 2D girl stickers. Examples are Itasha and Ita-curtain.
The "Chari" is a short form of "Chariot" which is a colloquial term to describe a bicycle. A bicycle used by a mother is called Mama-Chari for example.
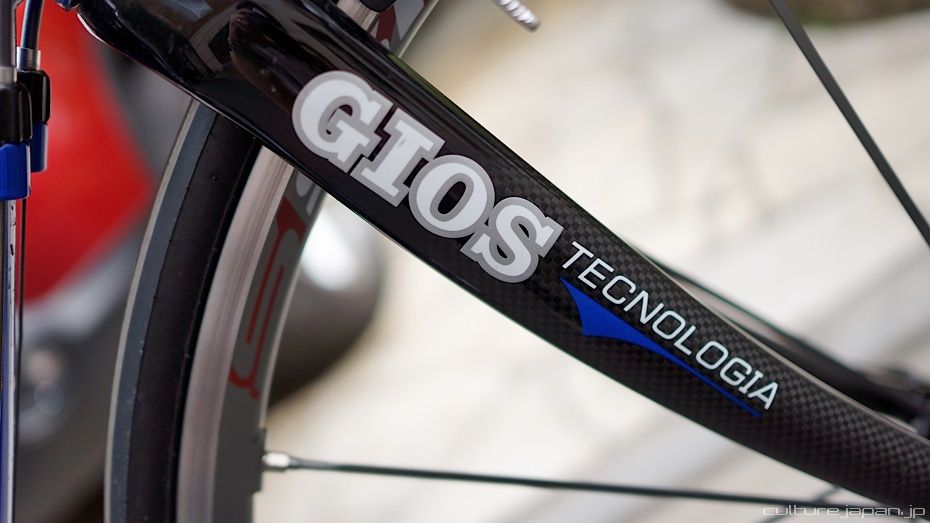
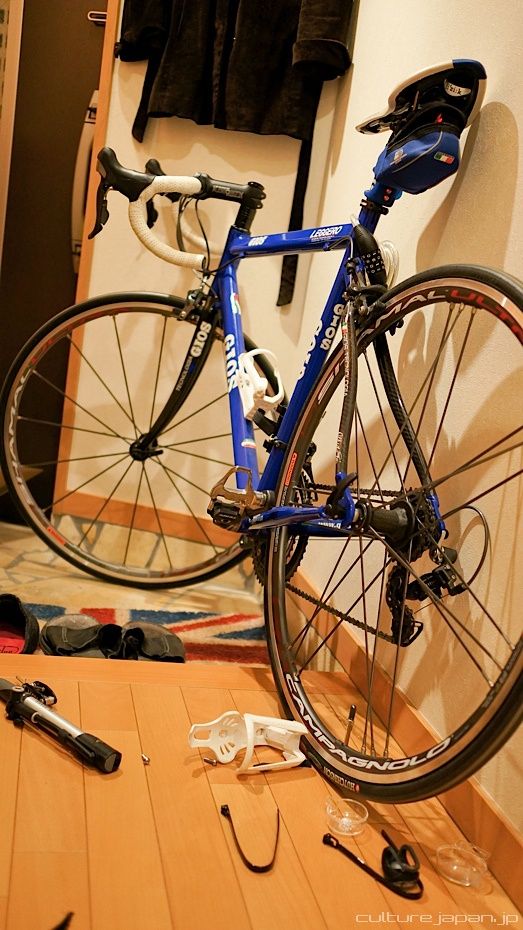
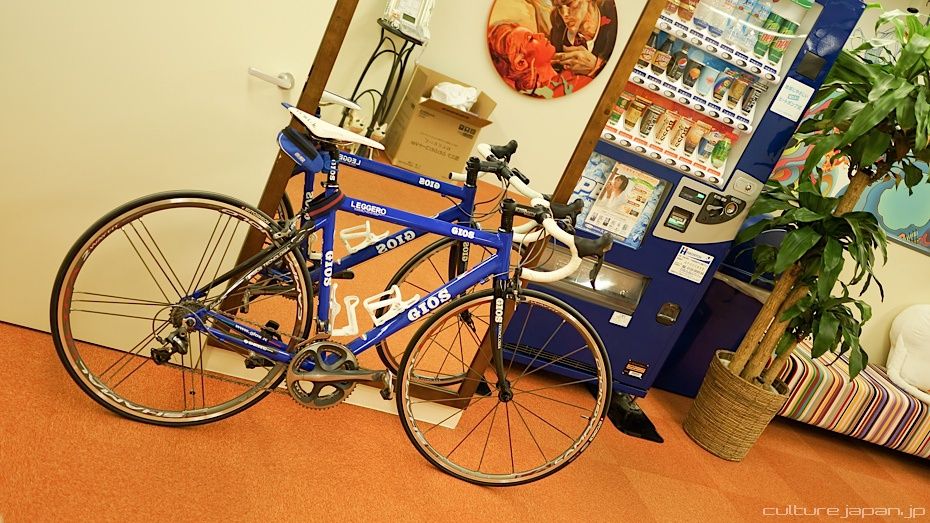
My first road bike is a GIOS! Looking a bit too plain at the moment though...

The model is GIOS Leggero. I was told that the bike cost a bomb - the basic model alone retails for 388500 yen at Rakuten @.@
Yes - it fell from the ceiling ^^;;
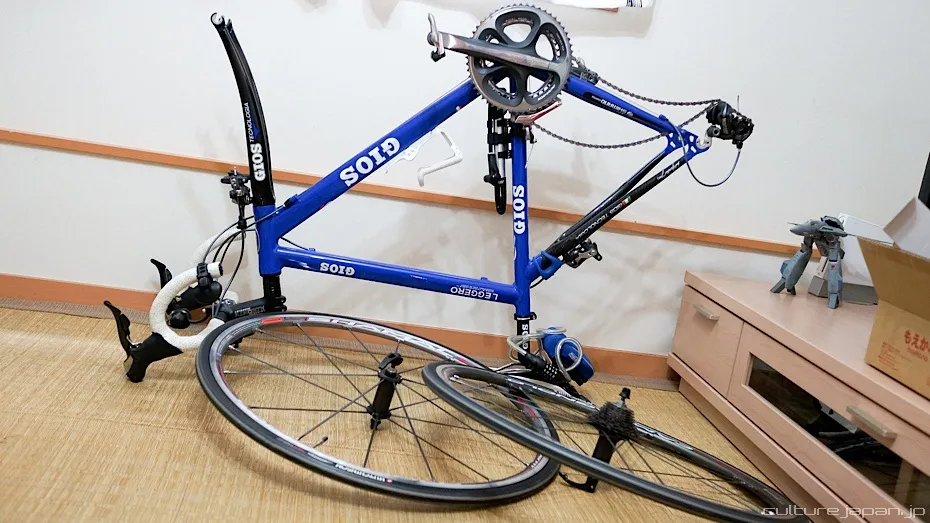
Anyway, today we look at road biking and how to make an Itachari. First up - turn bike upside down like so and remove wheels. I removed both because I thought I was going to do both wheels but it seems that most folks only do the back - apparently having the front one done too could cause the bike to blow over in strong winds.
But why go out biking in strong winds anyway? ^^
But why go out biking in strong winds anyway? ^^
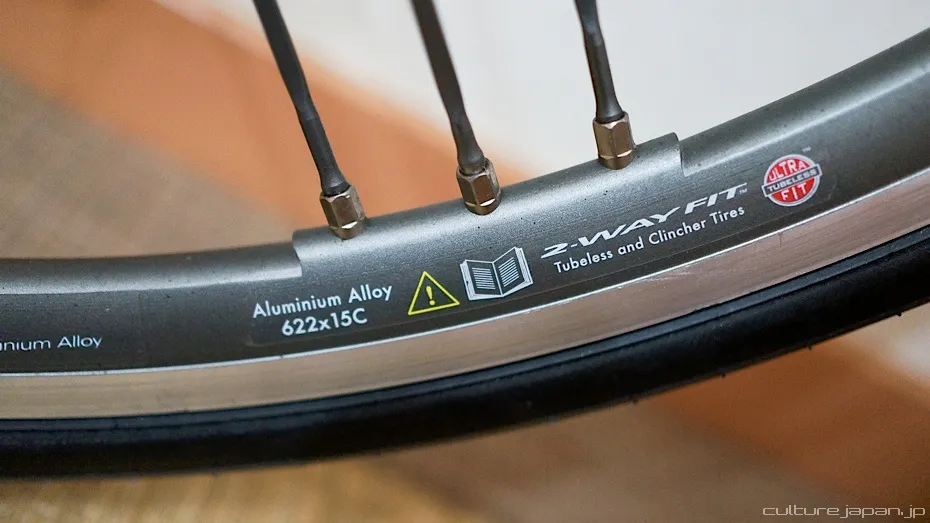
My wheel size is 622x15C Tubeless. I actually got my local bike shop to put tubes in them as they are easier to maintain. Without the inner tube, they go flat real quick.
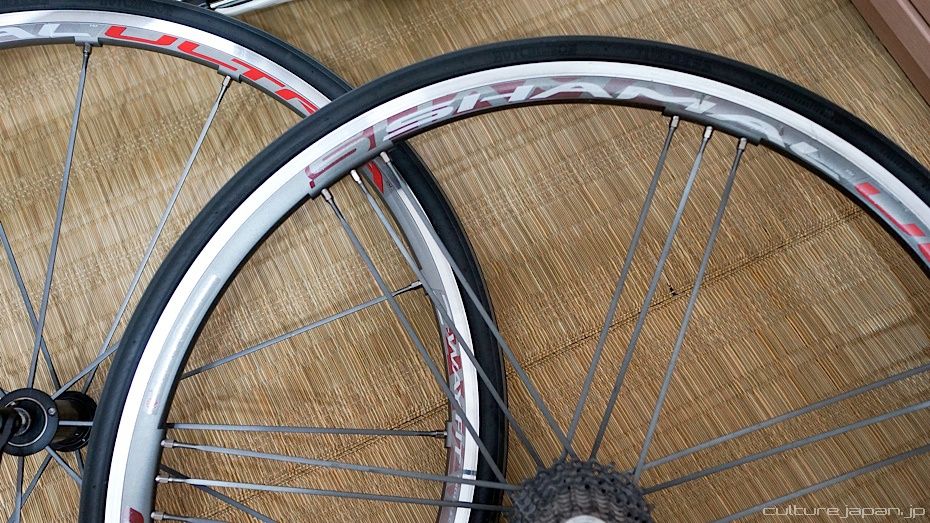
Wheels are Shamal Ultra 2 Way - looks like they cost 123500 yen alone on Amazon Japan ><
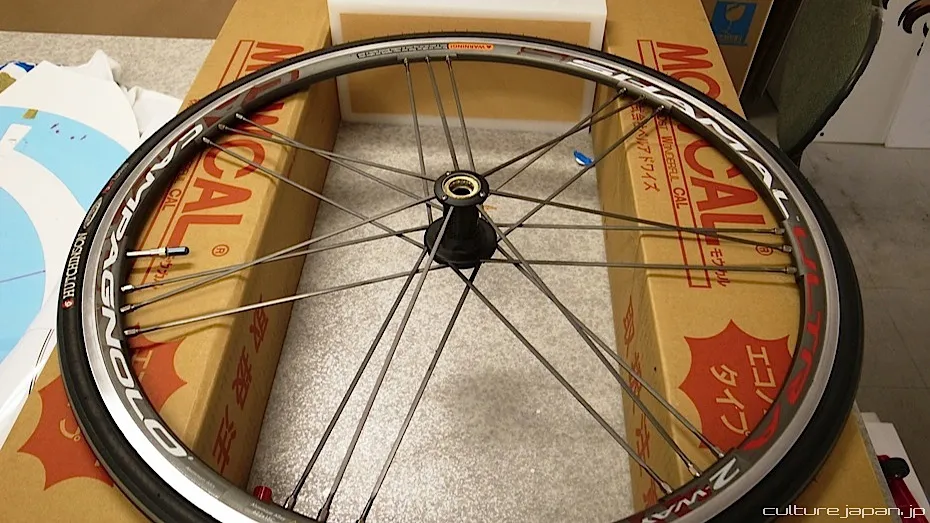
This is the back wheel with the gears removed.
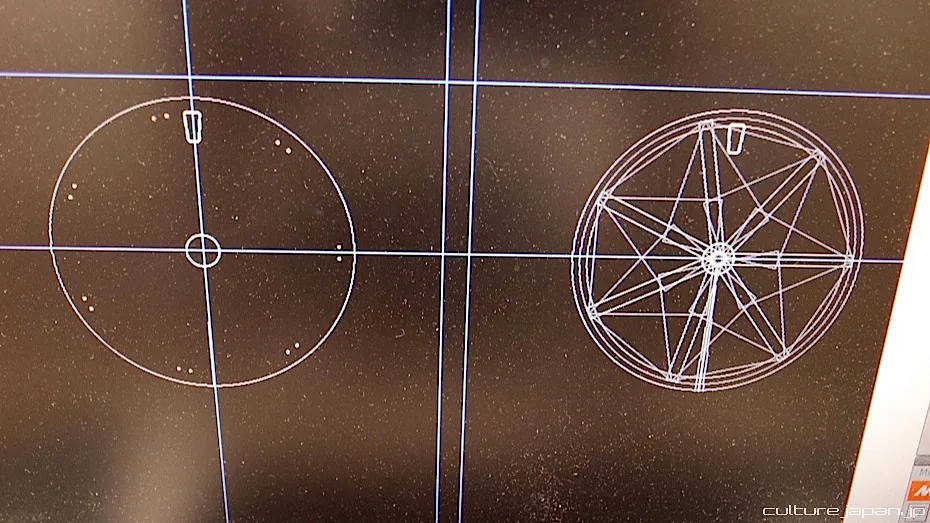
As this is the first time we are making an Itachari, we take a sheet of plastic and cut it so that it rests on the wheel like so - this becomes a template and helps us make the real wheel cover later.
Preparing image data on the computer. I've asked POPBOX in Asakusa to help me with the printing - all I do is give them the data in Illustrator format and they make the wheel cover.
If you dont have folks handy who can do this for you, you can just try using your printer at home too. What you print should then be covered in a plastic film which you should be able to pick up from a stationers.
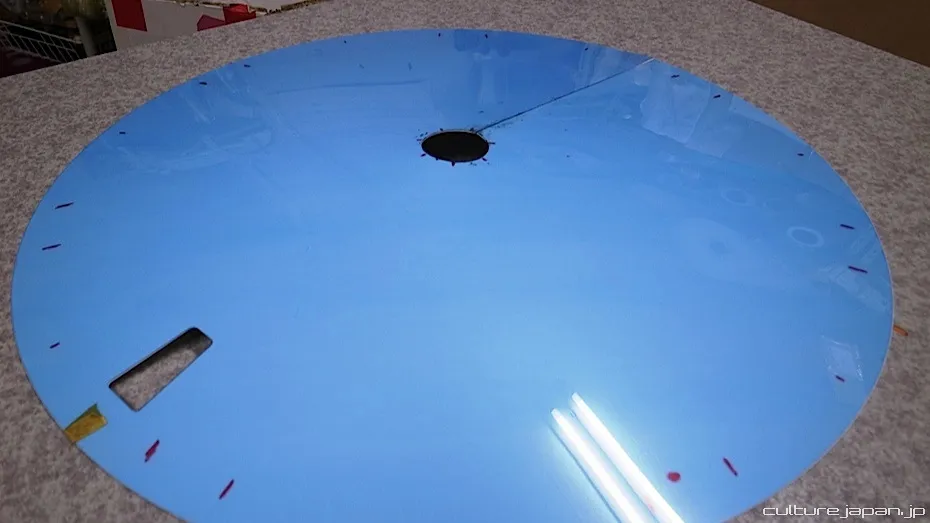
The template is ready and we can use it to make the real wheel cover from another sheet of plastic.
And here is one I prepared earlier. You should be able to pick up sheets like this from a DIY store. In Japan you could go to Tokyu Hands.
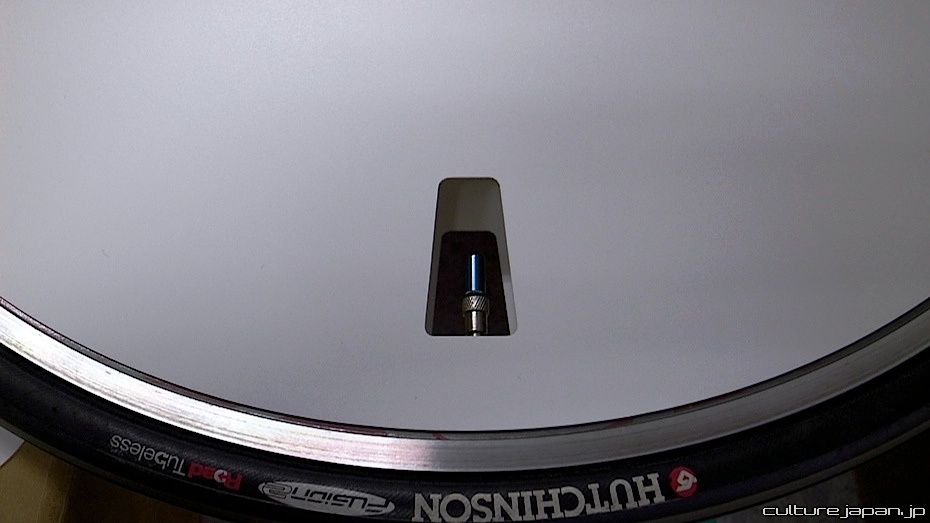
Dont forget to make a hole so that you can fill up the tyres! But dont cut them like this - cut a circle instead as we found that it was difficult to unscrew the cap ^^;
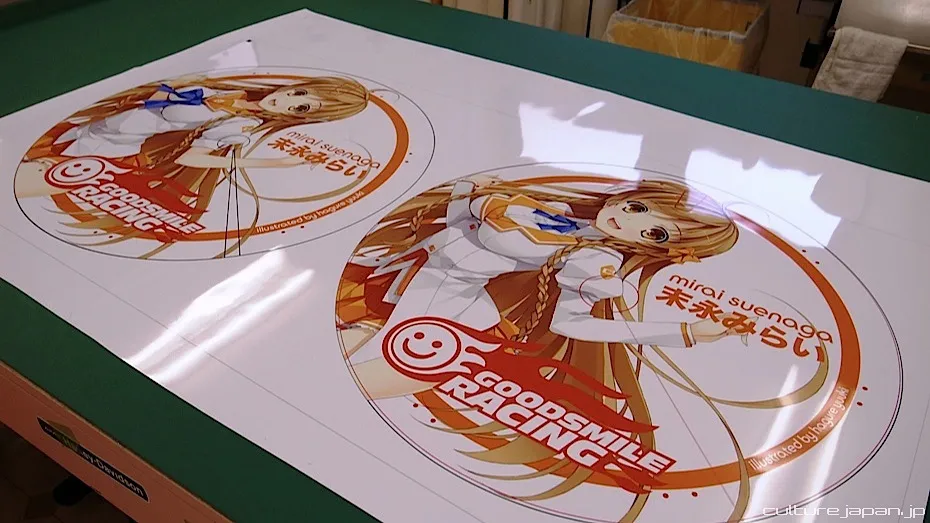
The folks at Popbox now proceed to print the data that I sent them. You need not worry about the markings of where the screws go as they do all that.
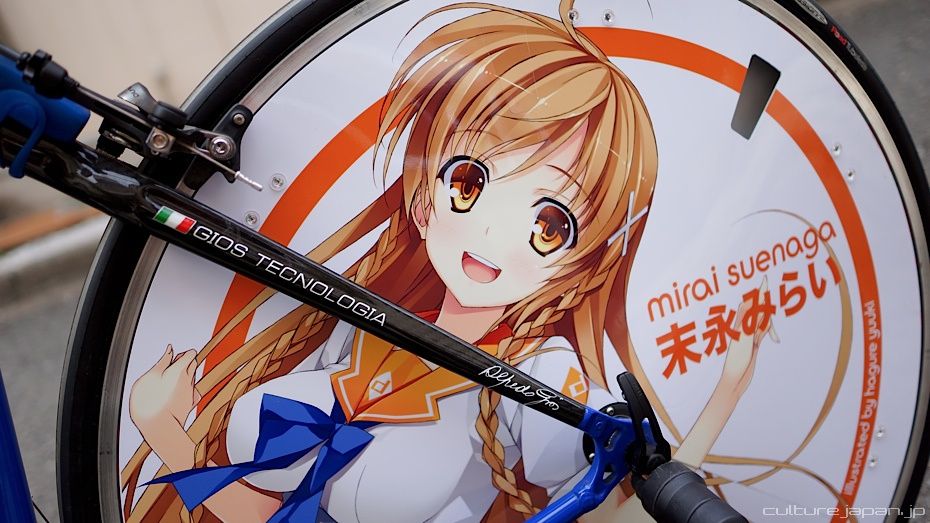
The Mirai on the left of this sheet in Summer uniform will be the sloped side of the wheel meaning that a small slice needs to be cut off.
The Mirai on the left of this sheet in Summer uniform will be the sloped side of the wheel meaning that a small slice needs to be cut off.
I didn't know this but if I did then I would have designed the wheel in a way so that the slice that gets chopped off does not affect the illustration - will show you what I mean further down the post.
The other side of the wheel (the side with the gears) is completely flat so no slices need to be cut off.
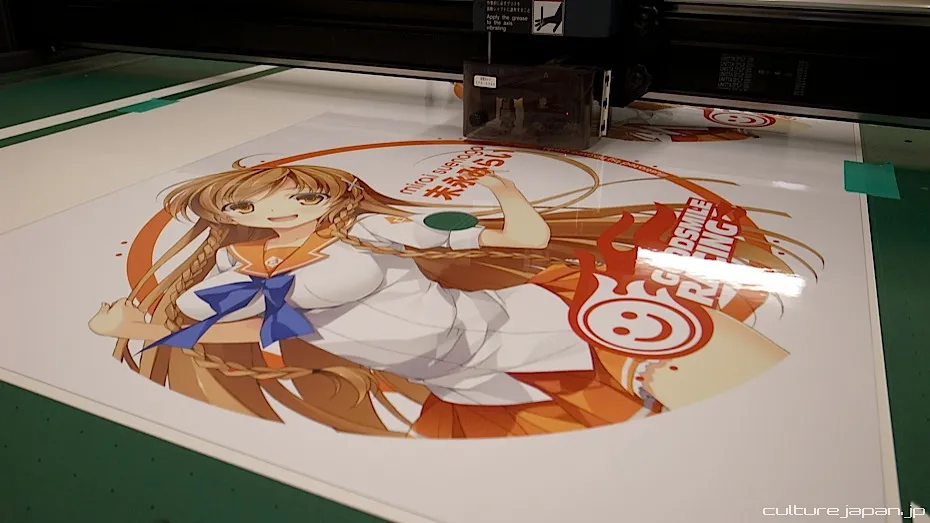
The cutting machine starts to do its thing.
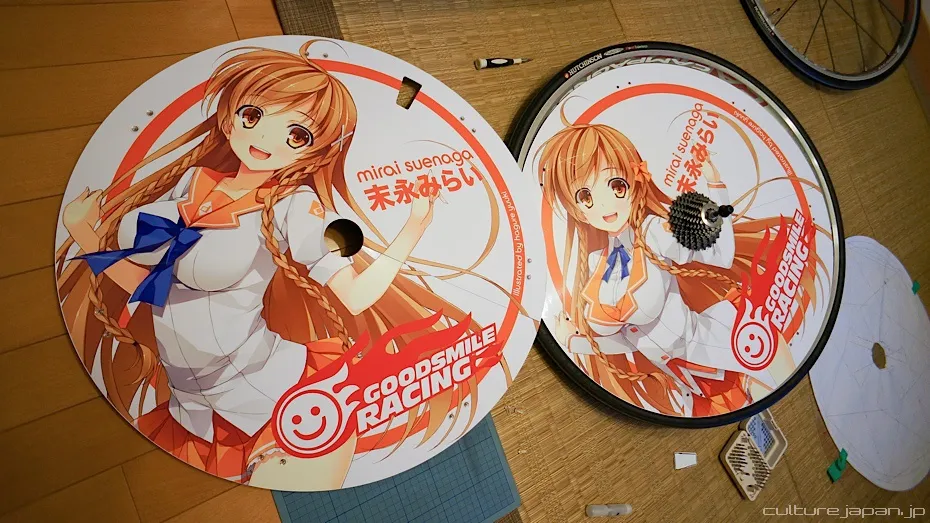
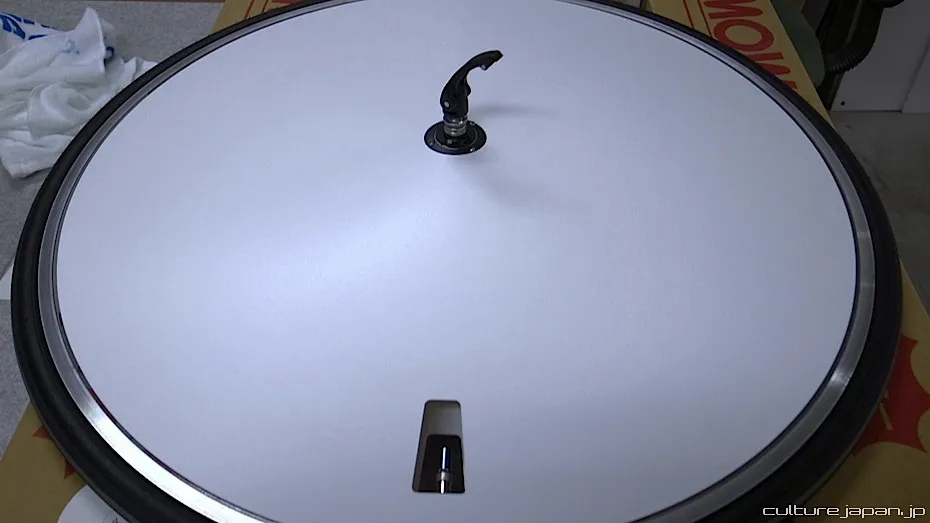
The Mirai stickers are stuck on the wheel covers - I have already put one cover on and replaced the gears.
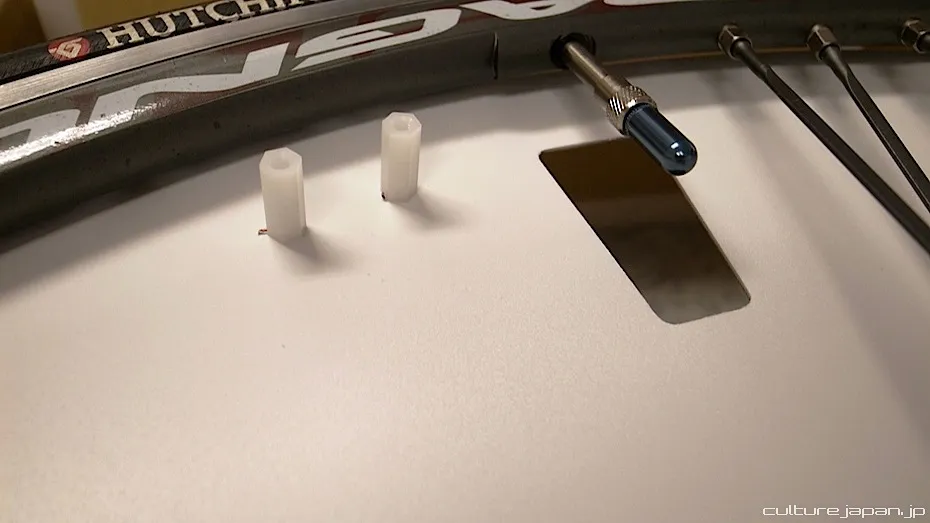
These are small plastic spacers which allow me to screw on the wheel covers - you should be able to pick up something similar at a DIY store which you can just cut down to this size - or try using something like thick wire cabling?
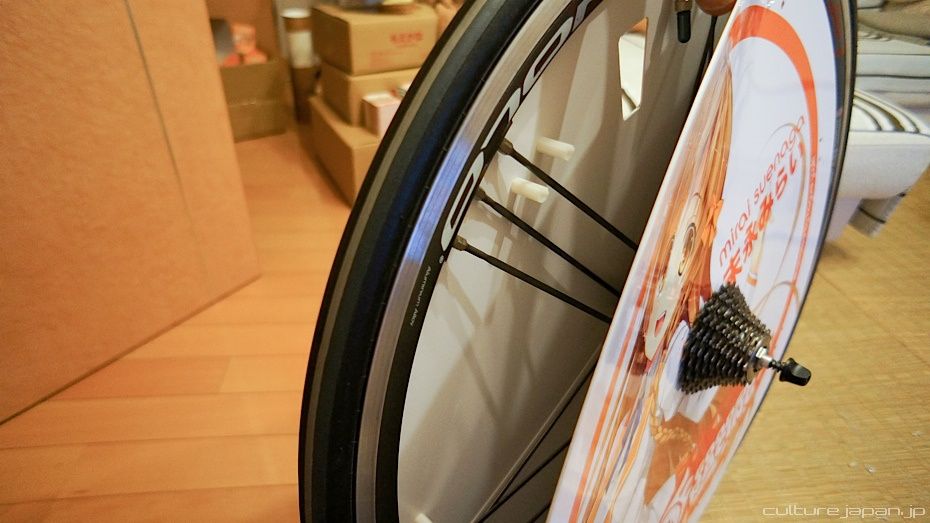
This is how the wheel cover is held to the wheel.
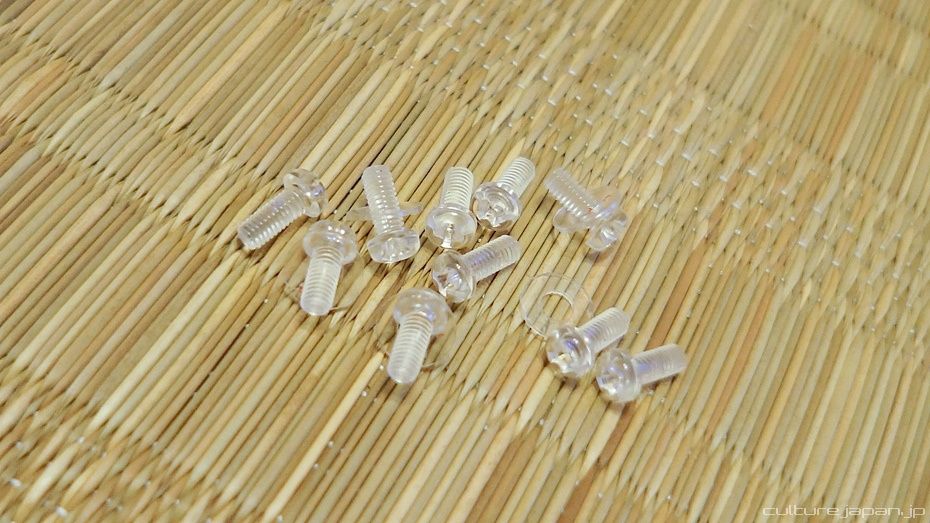
And here are the small plastic clear screws that hold on the covers - if you dont have any handy - you can take the small screws out from your best friends computer which will be used to hold in the HDD's.
Snapped when making a prototype wheel cover.
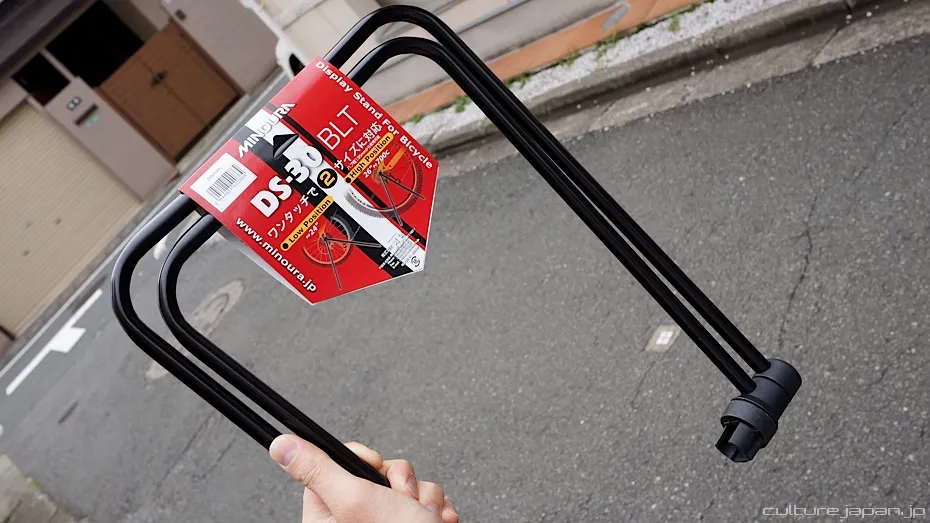
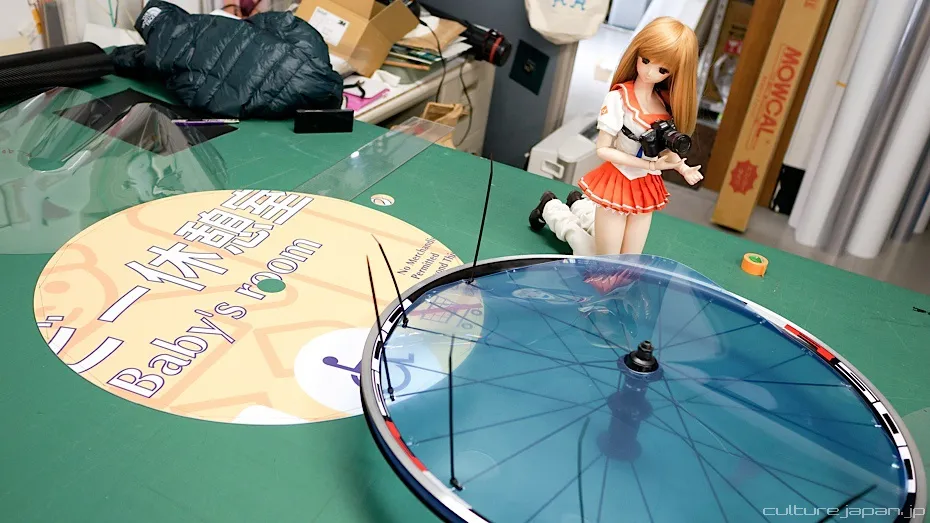
Picked up this DS-30 BLT Minoura stand from Amazon - will need it to display the Itachari at events such as ItaG Festa.
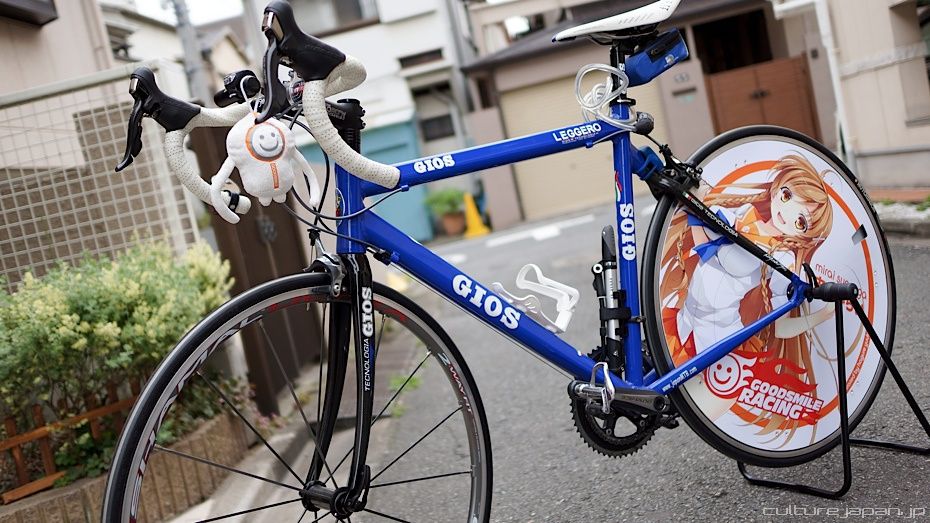
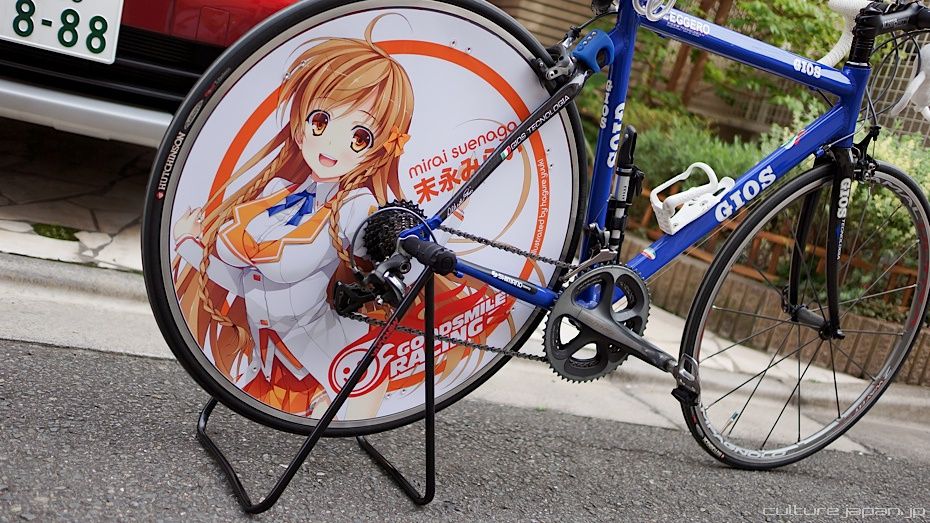
Mirai Itachari complete!
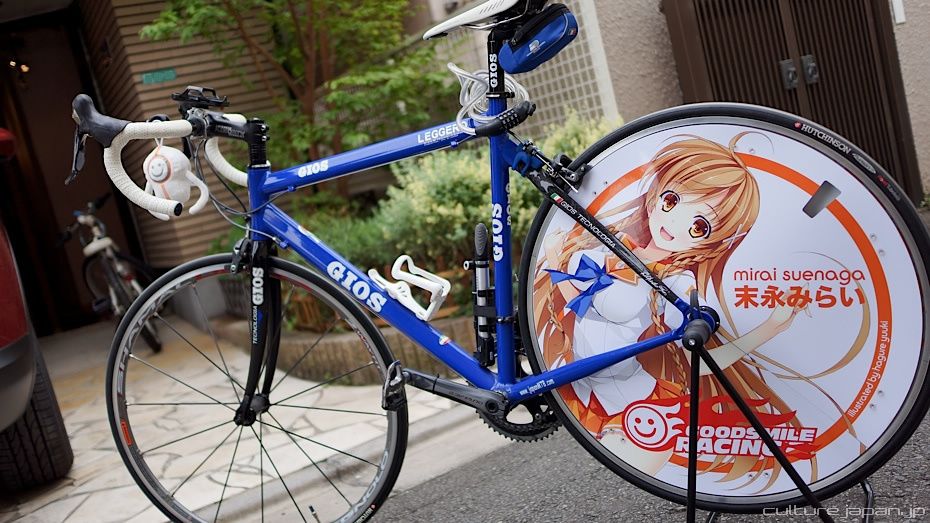
Illustration is by Japanese illustrator Hagure Yuuki-sensei. If you look closely at Mirai's arm, you will see that a slice has been taken out. You should design your wheel cover so that the slice is taken out of the background instead.
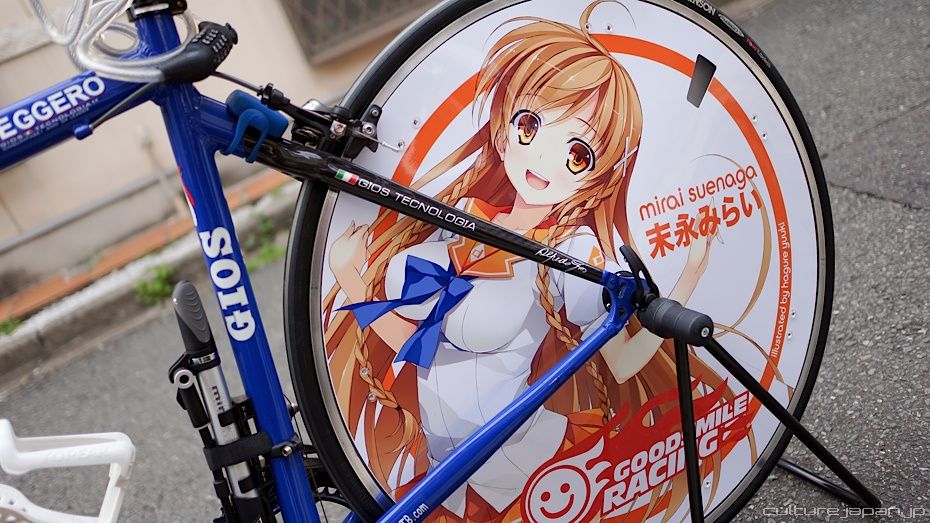
My first time making an Itachari and have gained much learnings. It's much obvious later on but we were designing just the wheels in Photoshop and Illustrator - should have taken into account the position of the bars which hold the wheel - at the moment they cover up Mirai so we should have designed this side with her facing backwards.
This side of the wheel looks fine - the bars dont cover Mirai but her logo gets covered up a bit. If you are designing your own Itachari then take these points into account and dont make the same mistake that I made!
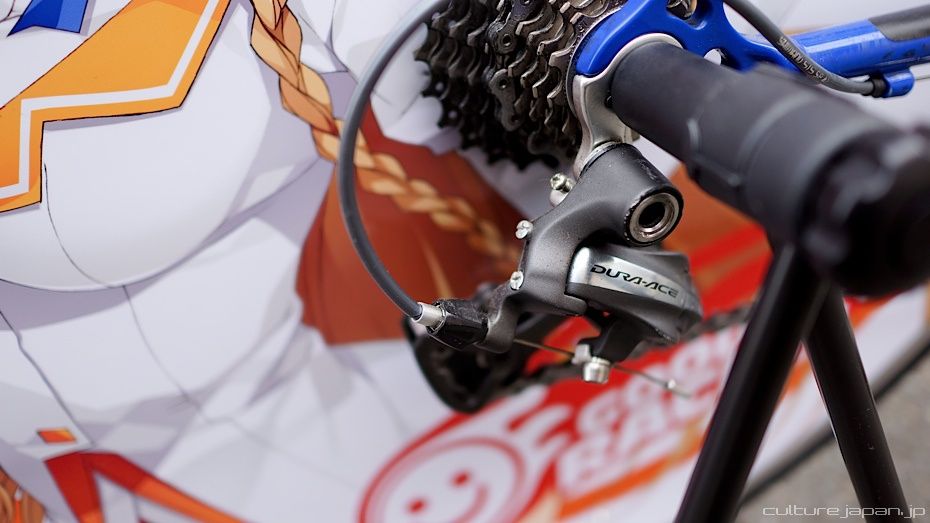
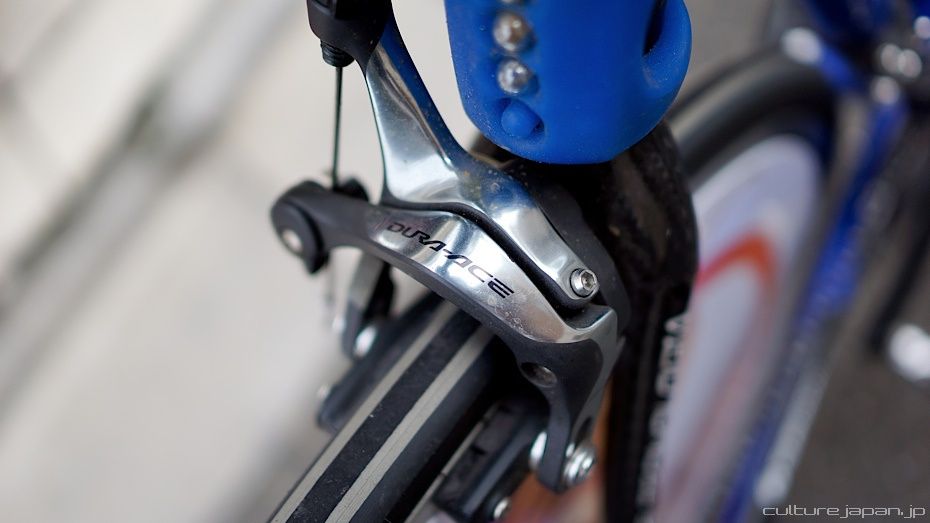
The person who gave me this bike replaced the parts with a load of highgrade bits n bobs - DURA-ACE 7900 series which seems to have cost a bomb ><

Goodsmile Racing logo - a hint as to who gave me the bike.

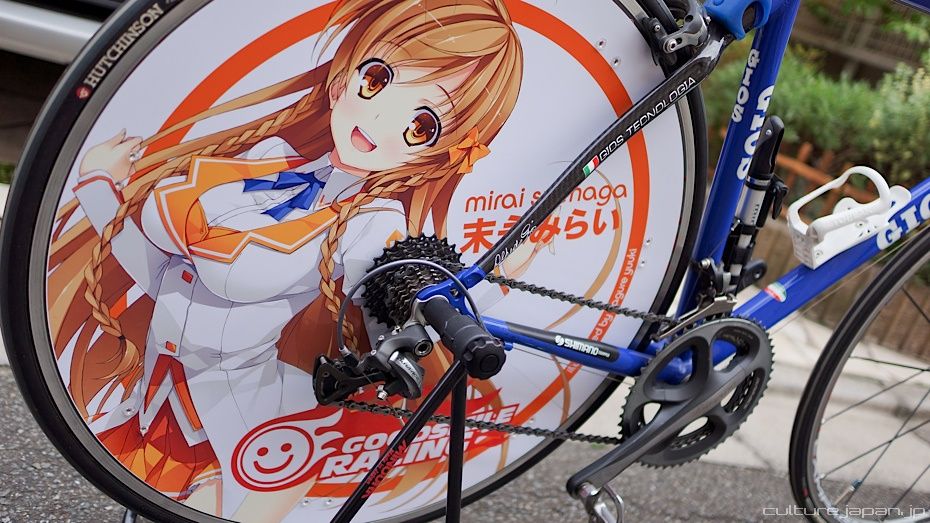
Mirai-chan in her Winter uniform.
I've always loved Hagure Yuuki-sensei's artwork and was over the moon when he agreed to doodle Mirai-chan for us. You can see some of his work below in the eroge title Koikishi Purely Kiss.
Was thinking of placing stickers over the frame too but decided to leave it like this for now.
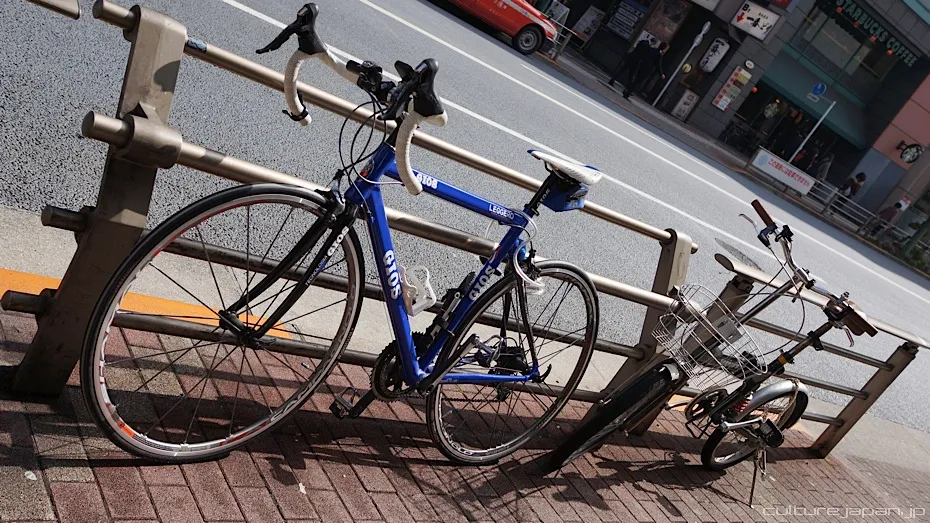
Tempted to do the front too ^^;
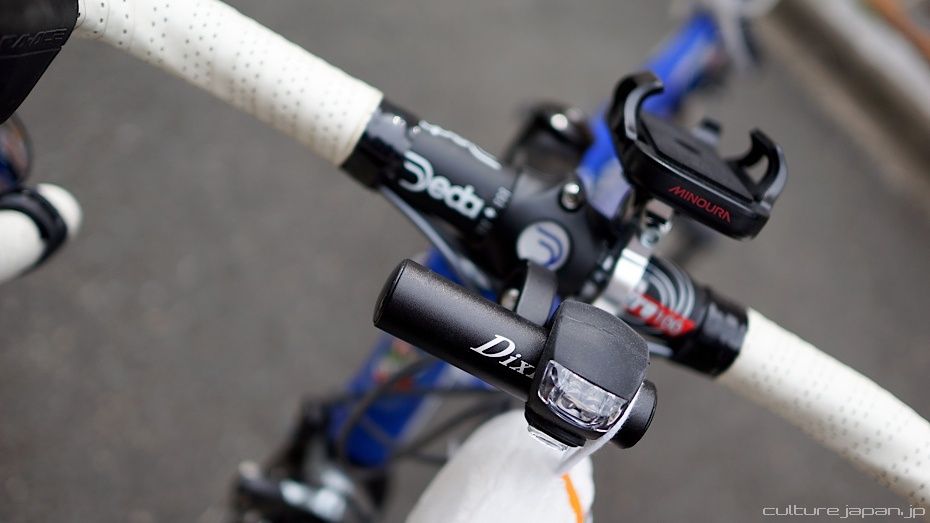
Front light - if you dont turn it on during the night then be prepared to be stopped if a policeman sees you. The light was picked up from Amazon - really cheap at about 700 yen.
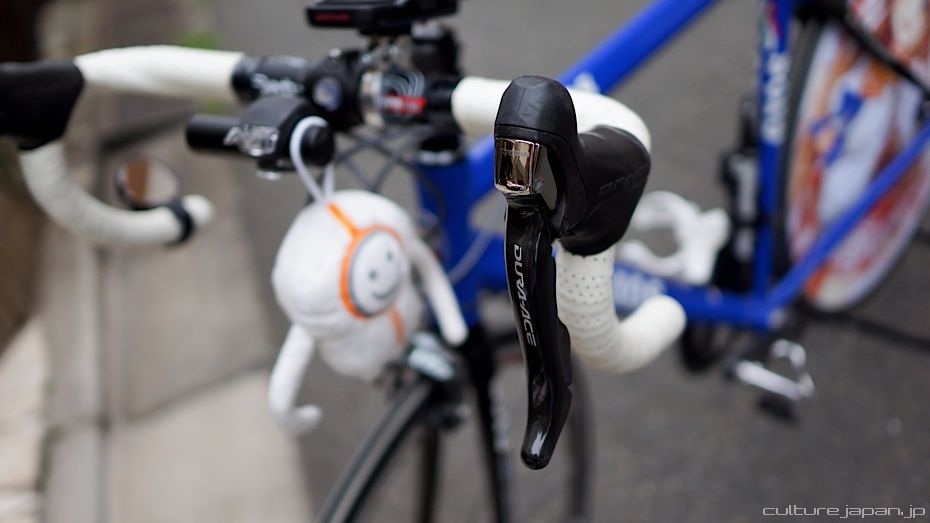
Dura-ace dual control levers. These alone cost 54546 yen ><
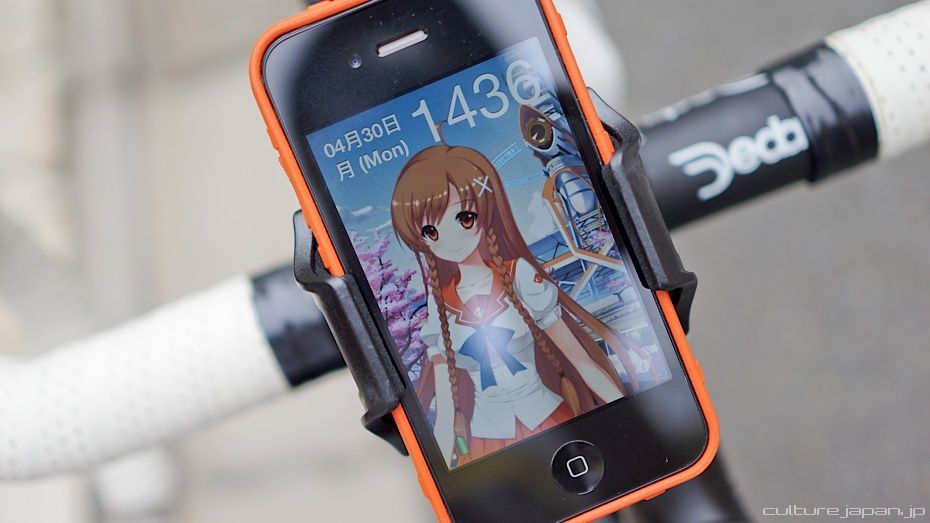
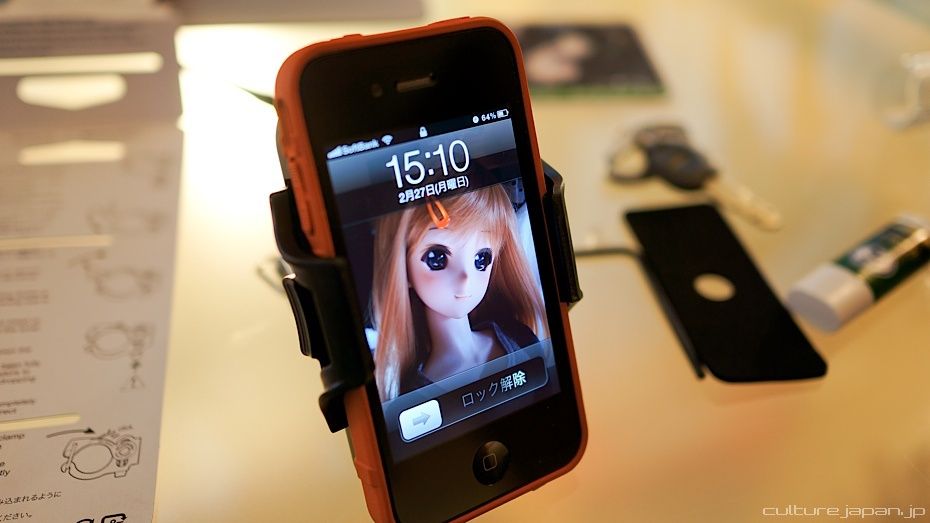
MiraiClock3 to keep me company during a ride - free for you iOS users and Android coming soon. Android is so much more difficult to program for which is why its taking a long time.
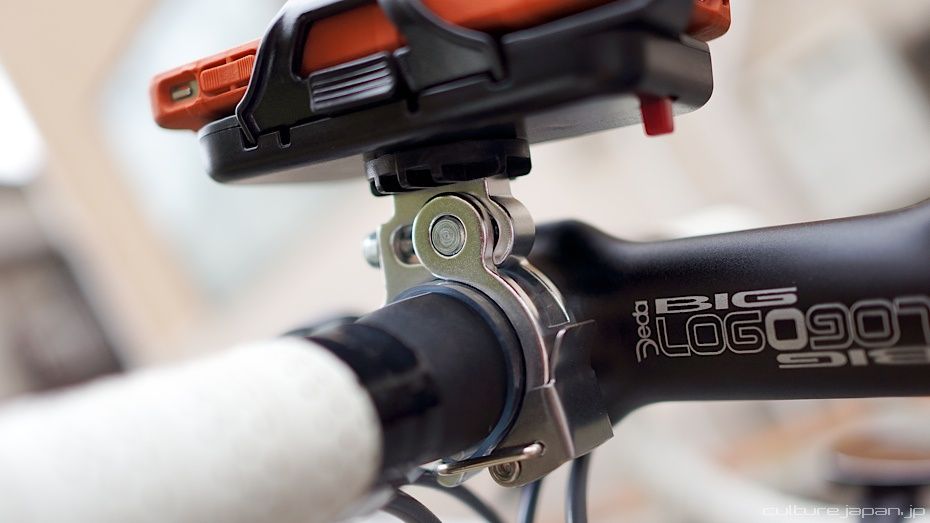
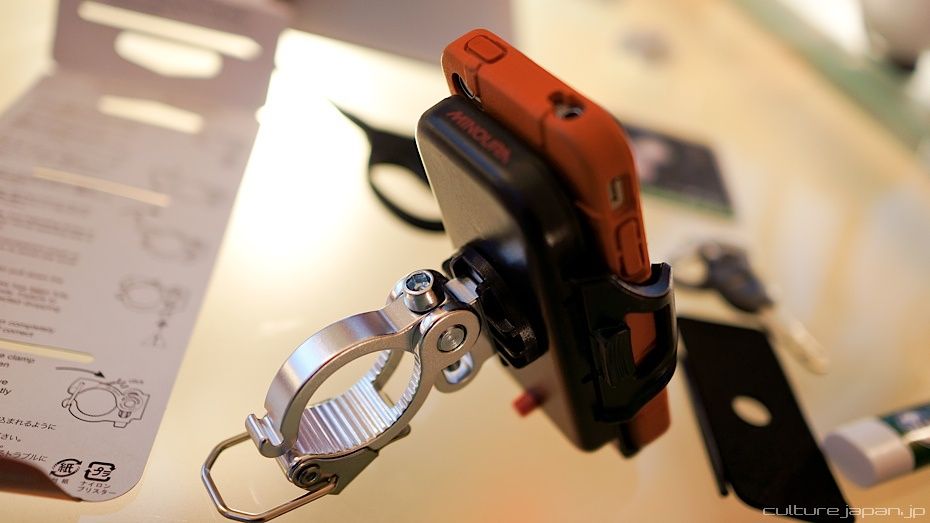
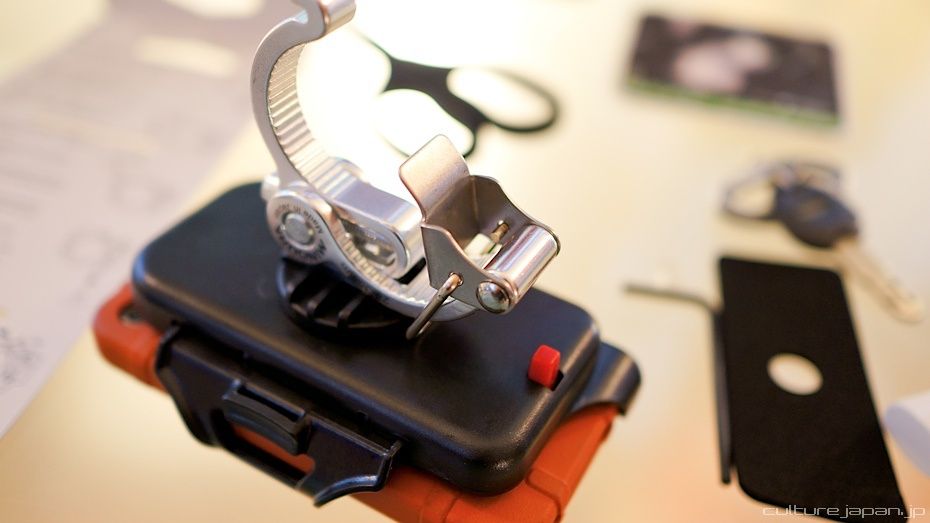
Minoura phone grip - this thing is rock solid!
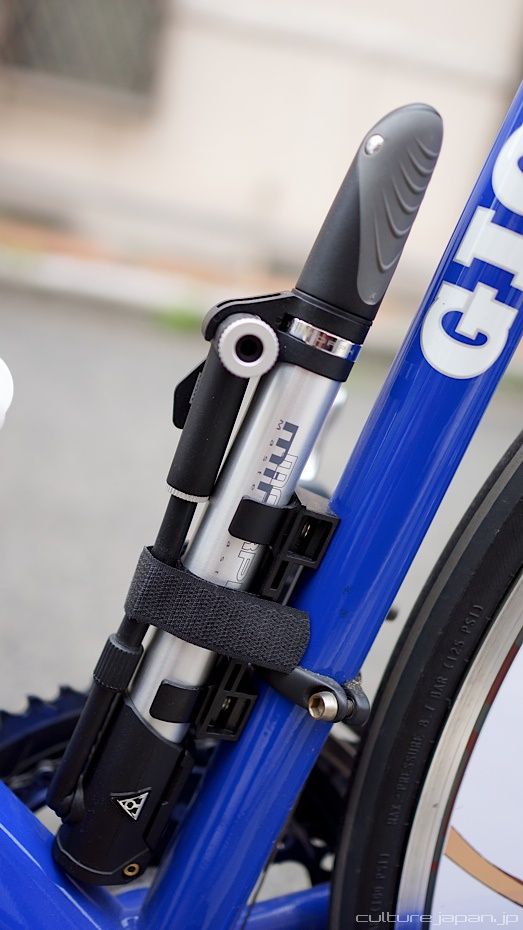
Picked up a mini pump too.

Retail price for this crankset cost 53898 yen. Have no idea why they cost an arm and leg.
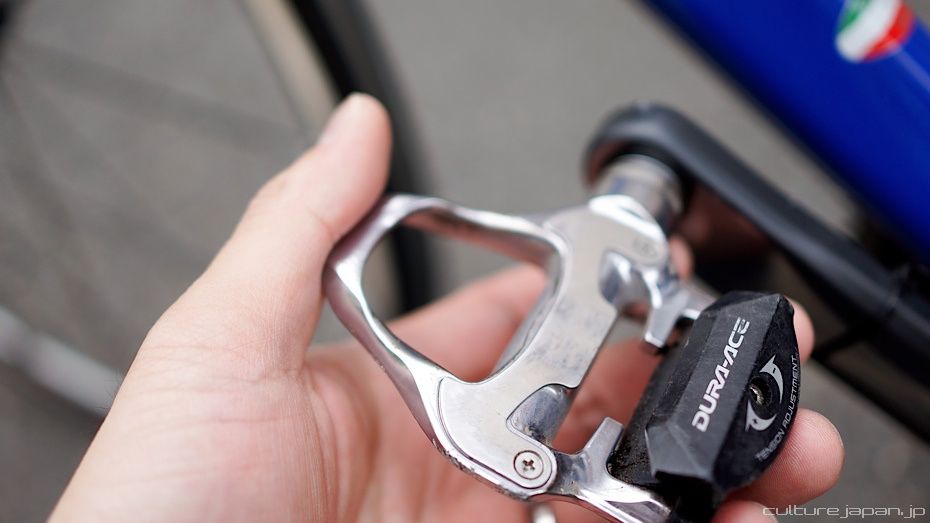
The pedals alone cost money too! 23000 yen ^^
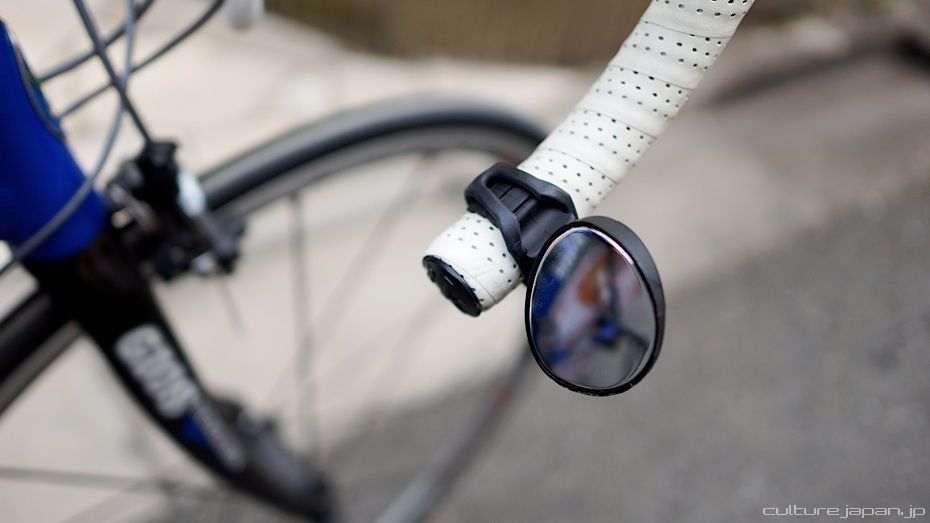
Picked up a handy little mirror too.
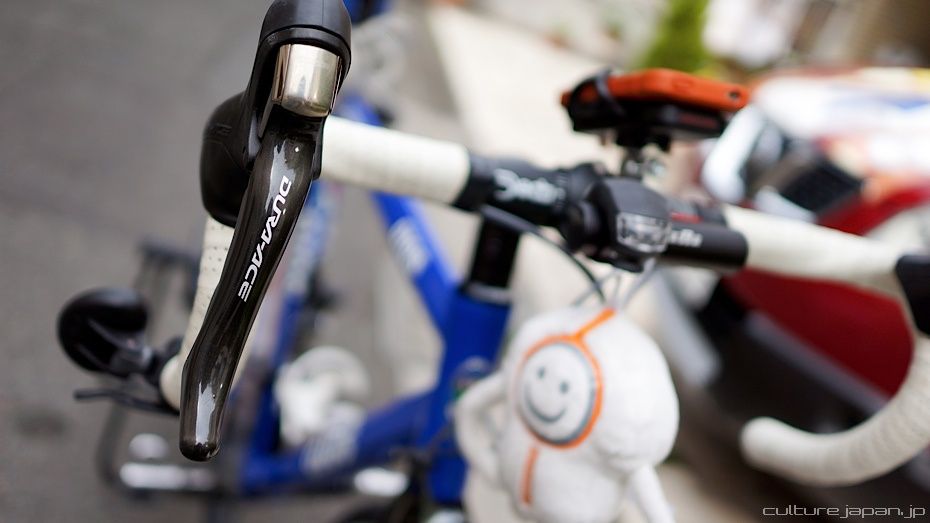
Still getting used to the levers which move sideways too.
The person who gave me the bike literally high-graded everything! Brakes cost 31639 yen @.@
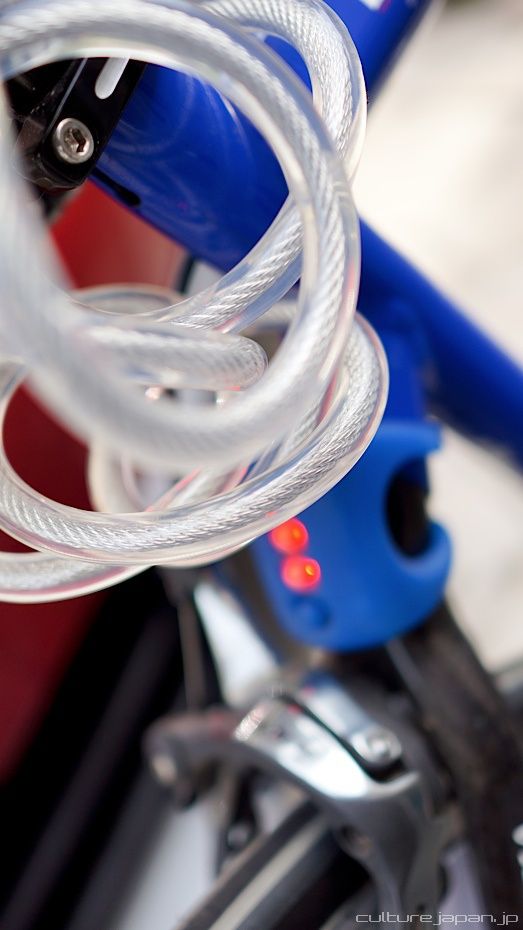
And got myself this lock to secure the bike to a pole while I nip into a restaurant for a bite.
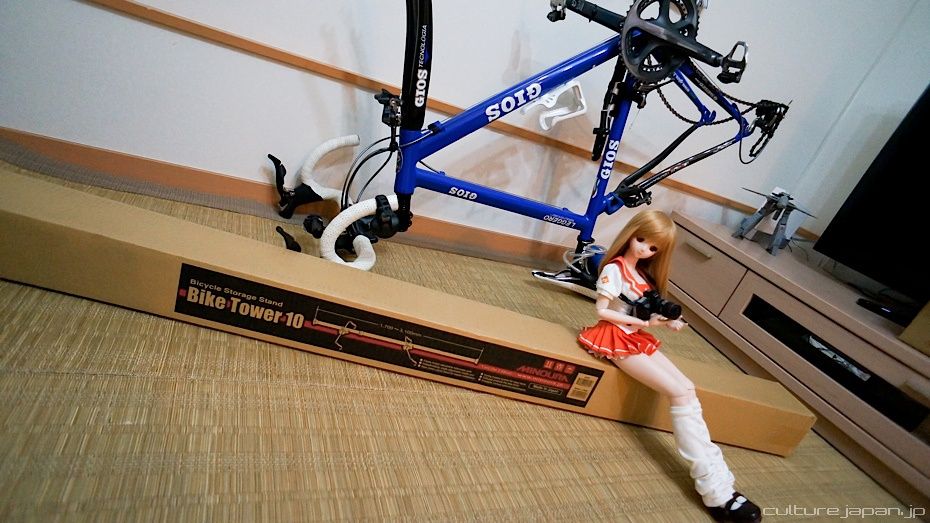
I usually leave bicycles outside the house but everybody understandably recommended me to leave this one inside^^; Not much space to put it though so made use of the Minoura Bike Tower 10 - 10830 yen.
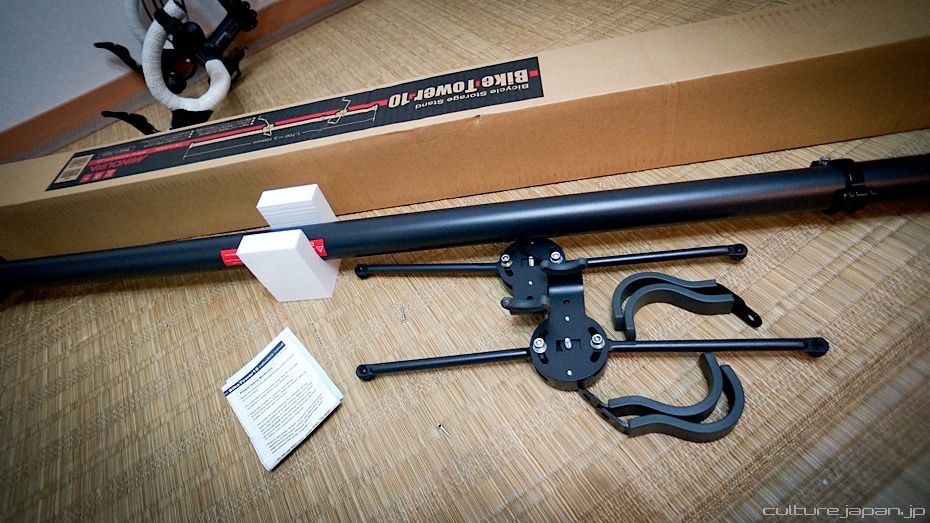
Pretty simple to put together.

And she's up and away - bottom rack waiting for my wife's road bike to be shipped from the UK she's going for Wiggle.
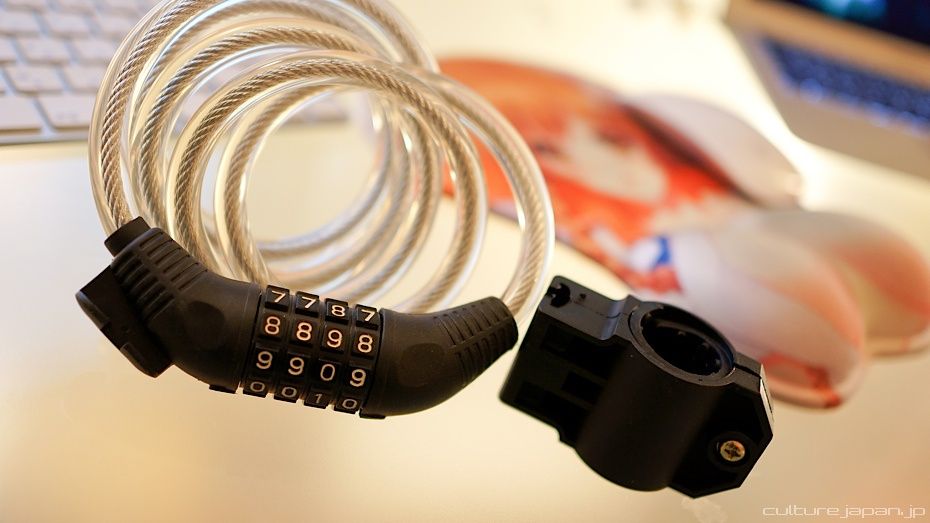
A lock for the bike also from Amazon for 1575 yen.
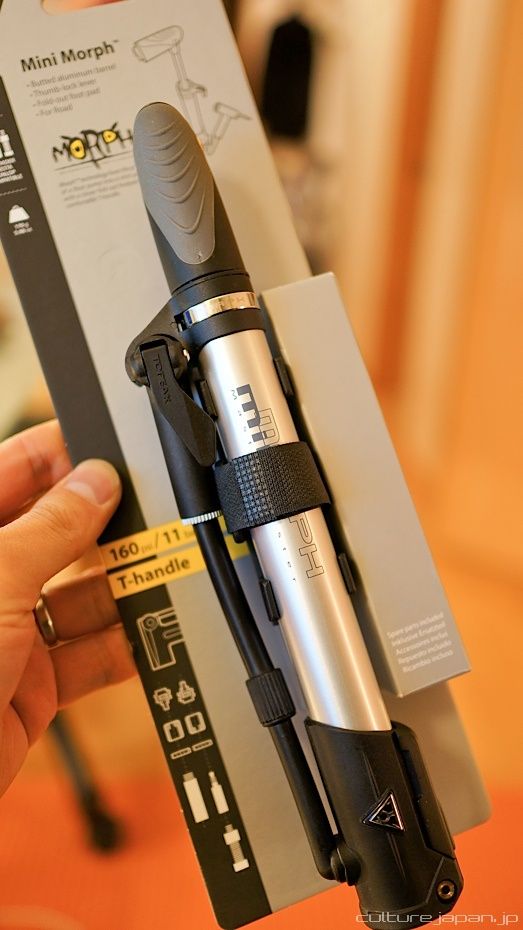
And here is that pump up close - Mini Morph from Amazon - 3431 yen.

Mini Morph folks out like so ready for action.
Spending an evening maintaining the bike.
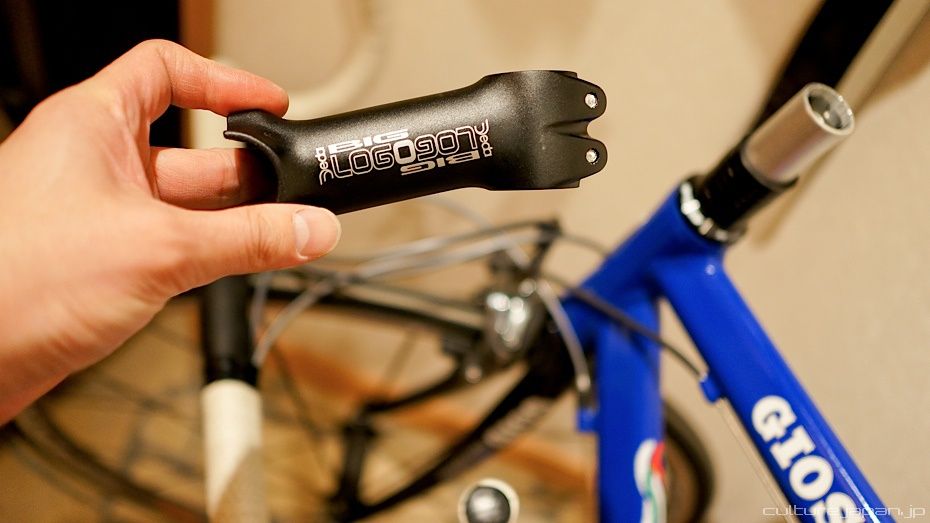
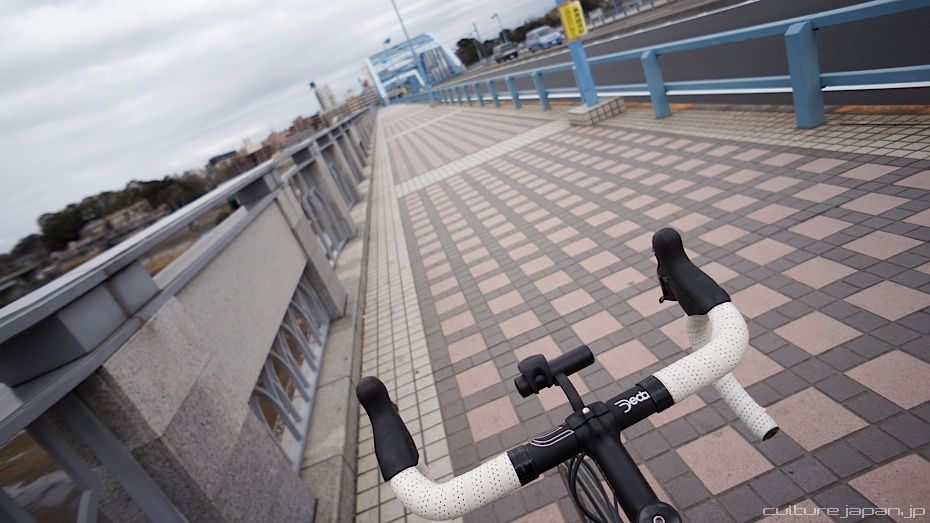
I'm still very new to road biking - dont even know what this bit is called. At first I didn't know it could be flipped around to make the handlebars higher.
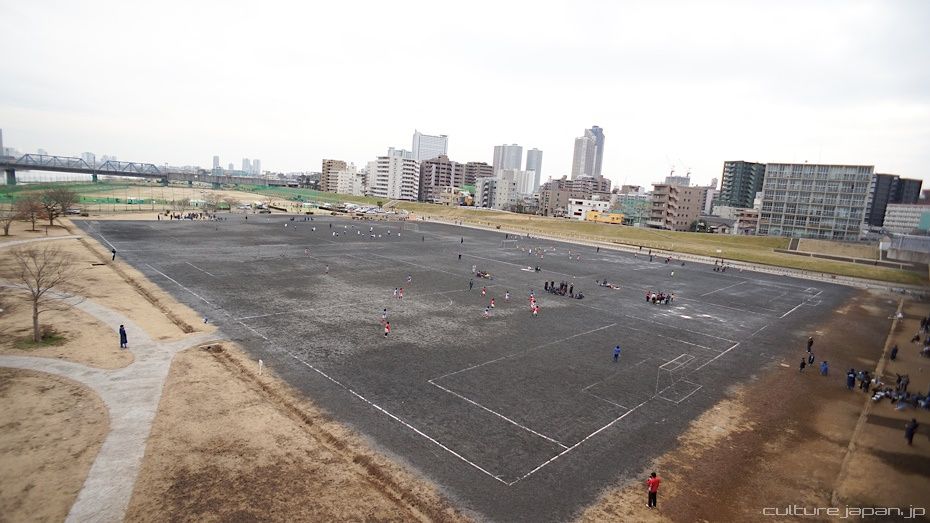
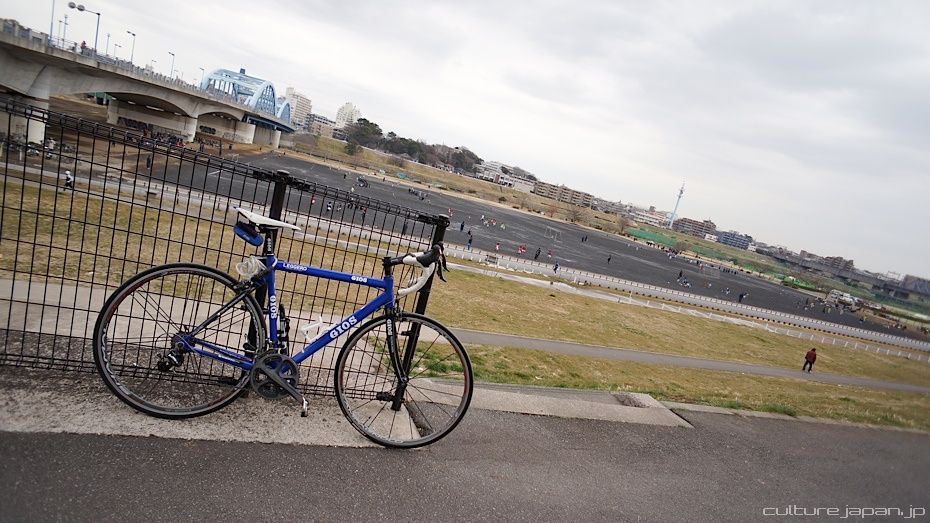
Photos taken pre-Itachari - going for a spin in my neck of the woods.
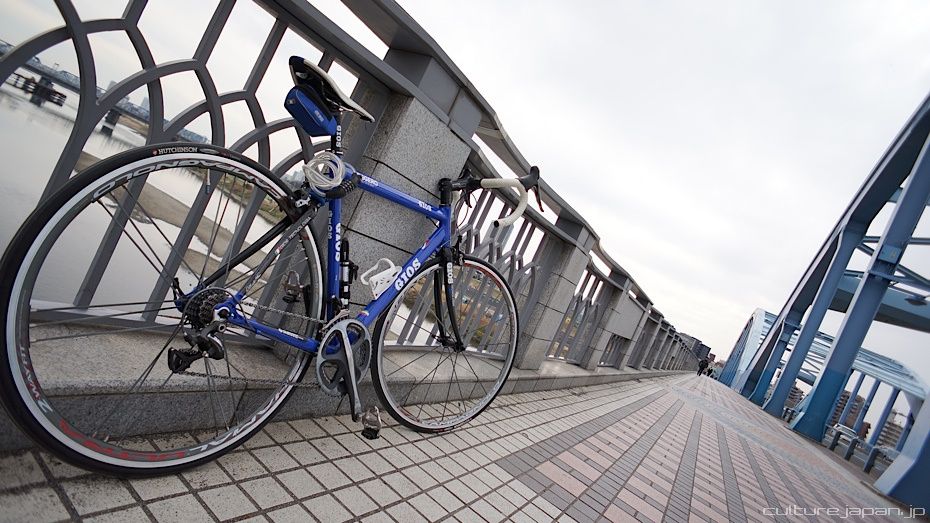
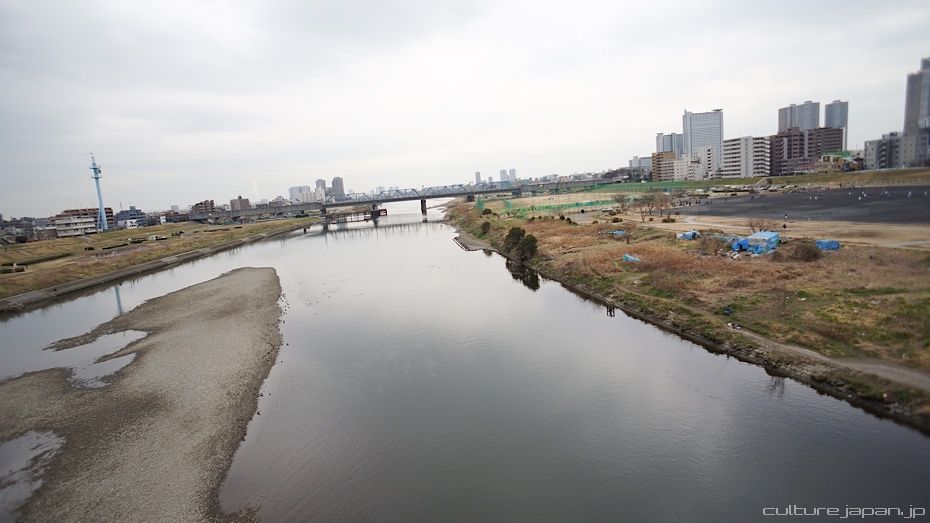
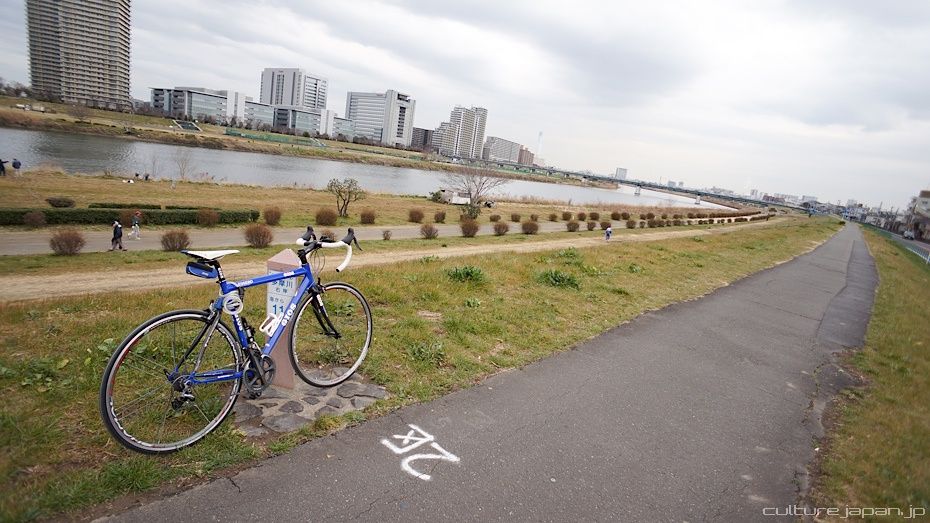
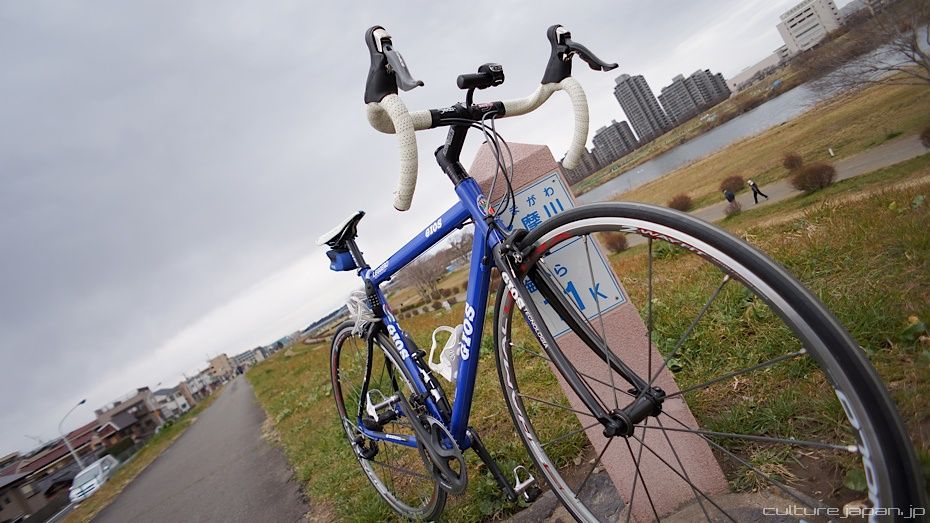
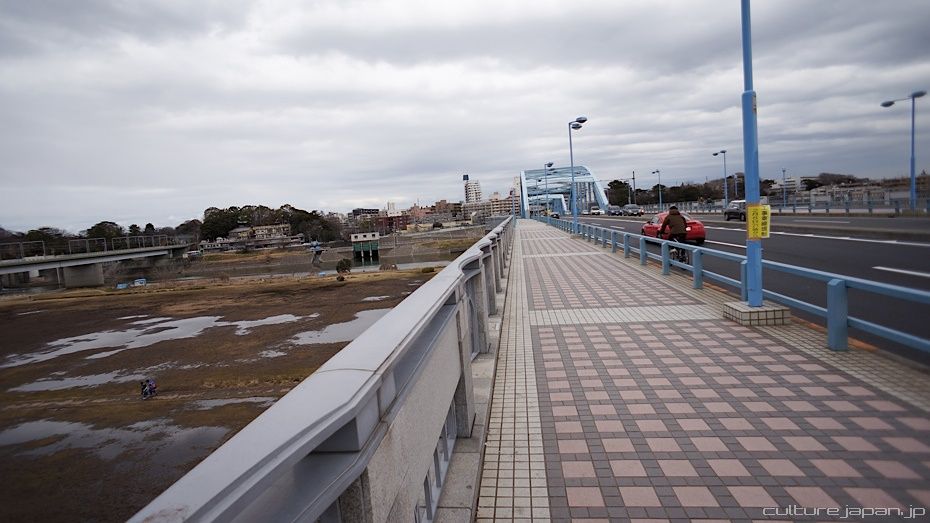
Reached Tamagawa River a few kilos away from home. Photos taken in the same spot as the Cycling in Tokyo post.
On a wet day like this, a mud guard would come in handy - still trying to look for a decent one.
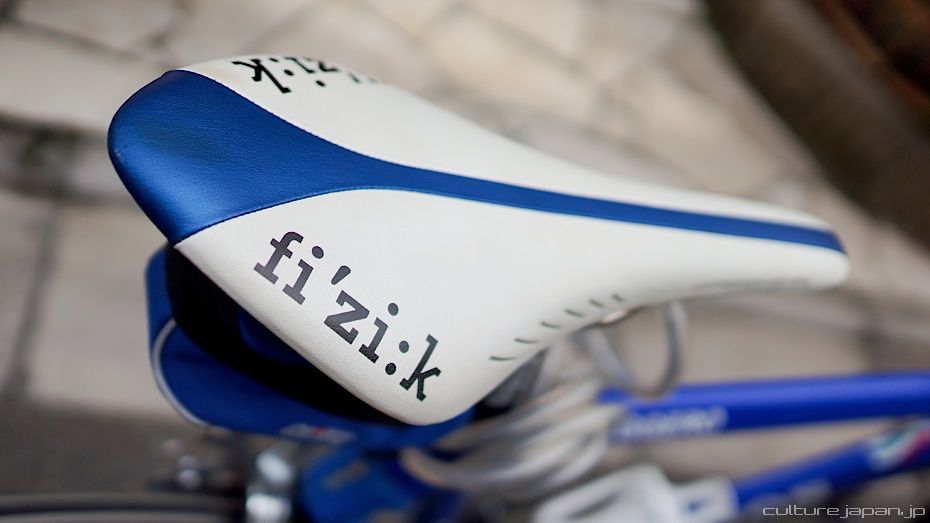
I initially wanted to respray the frame orange but was told that to strip the paint and respray would cost about 200000 yen! I decided to convince myself that the blue matches Mirai's blue ribbon and that I should keep it as it is ^^;
I love these riversides which you often see in anime.
Stopping for a break on the way to Kawasaki.
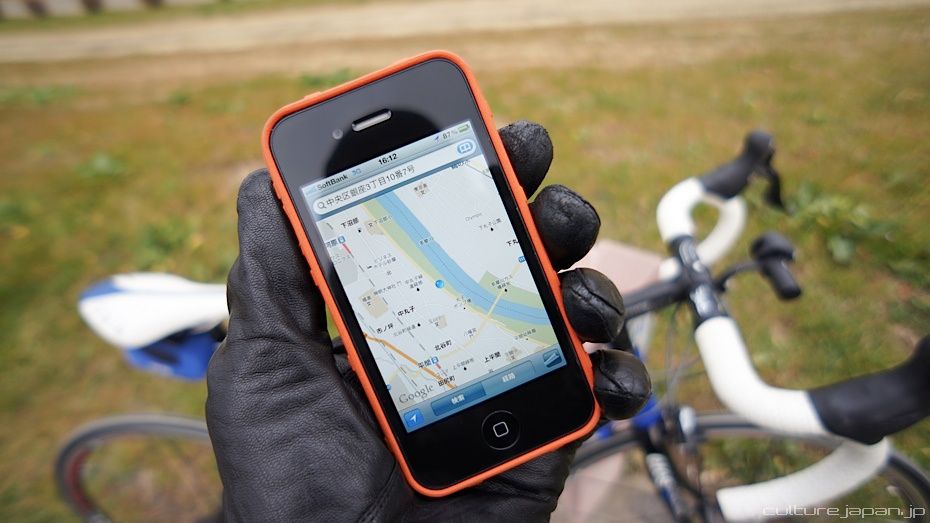
The iPhone leads the way.
Needs a mount for the iPhone.
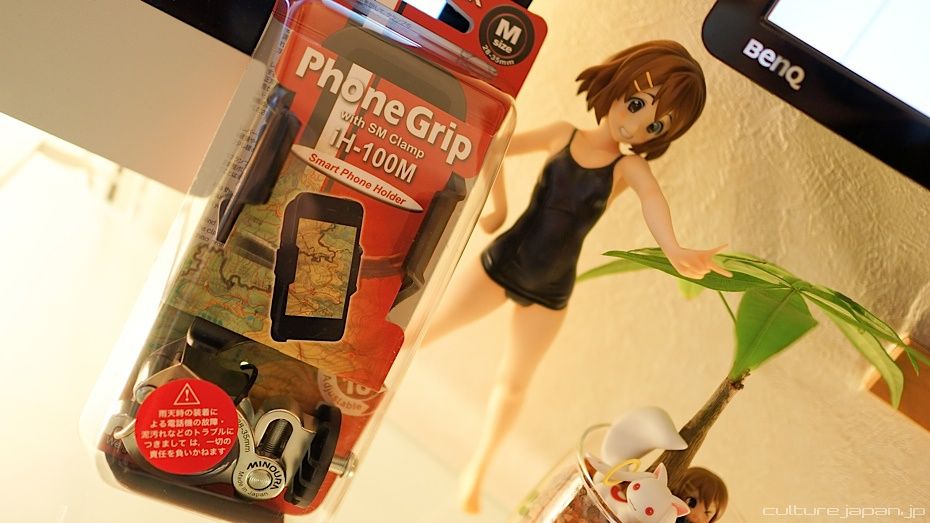
And here is the Minoura iH-100M Phone Grip which I picked up from Amazon.
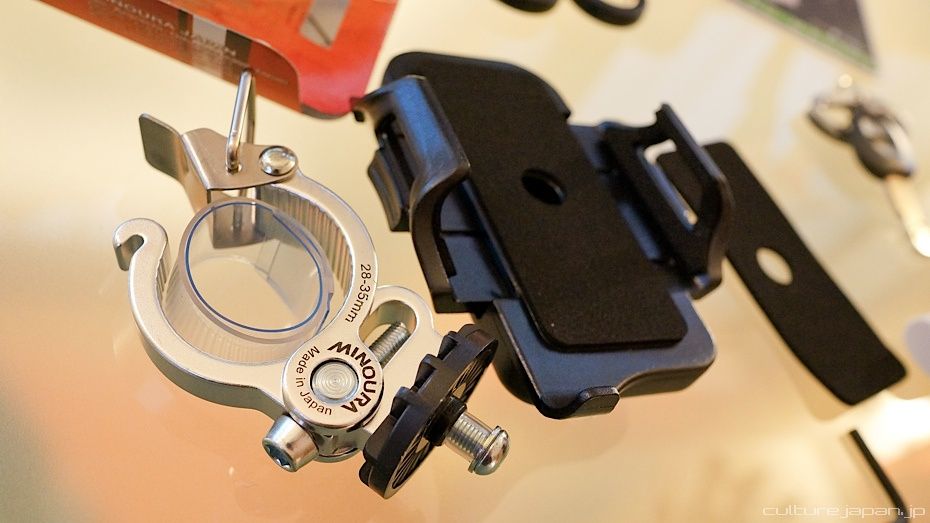
Owned one of these phone mounts before which was terrible - this phone grip however is really rock solid. Make sure you get one that fits your handle bars as they come in 2 different sizes.
The iPhone can be mounted with its case still on - many other mounts require that you remove the case. The case I'm using is the Magpul.
A few companies have offered to make Mirai cases but I dont want to make anything that I would not use myself. The character cases I've seen offer no protection of the actual phone apart from scratch protection - I drop my phone all the time and need to make sure that it does not bite the dust. Will consider making some if the covers protect the phone from a drop.
Back of the mount.
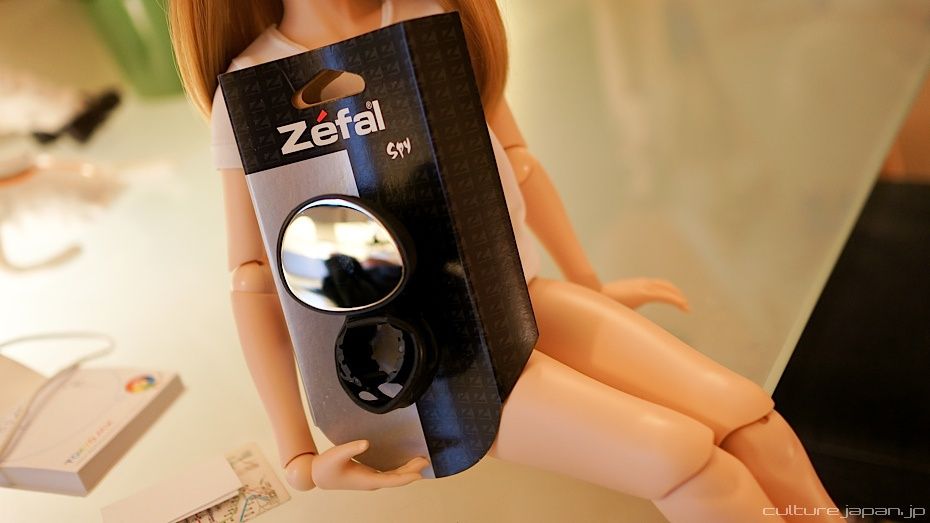
The ZEFAL 472SPY Mirror - 1420 yen from Amazon.
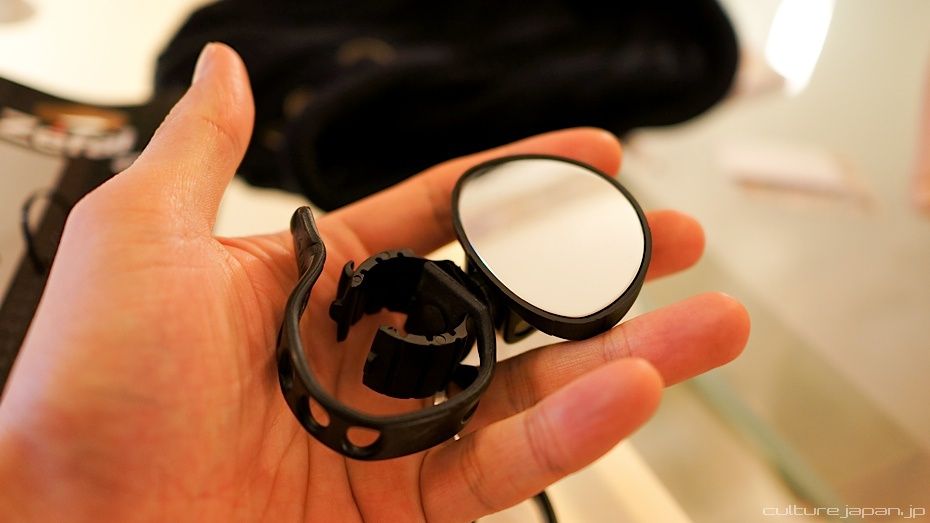
The mirror is a wee bit small and you really need to adjust it each time you ride so that it points to where you want to be looking - it always ends up moving from its original position when you prop the bike against the wall.
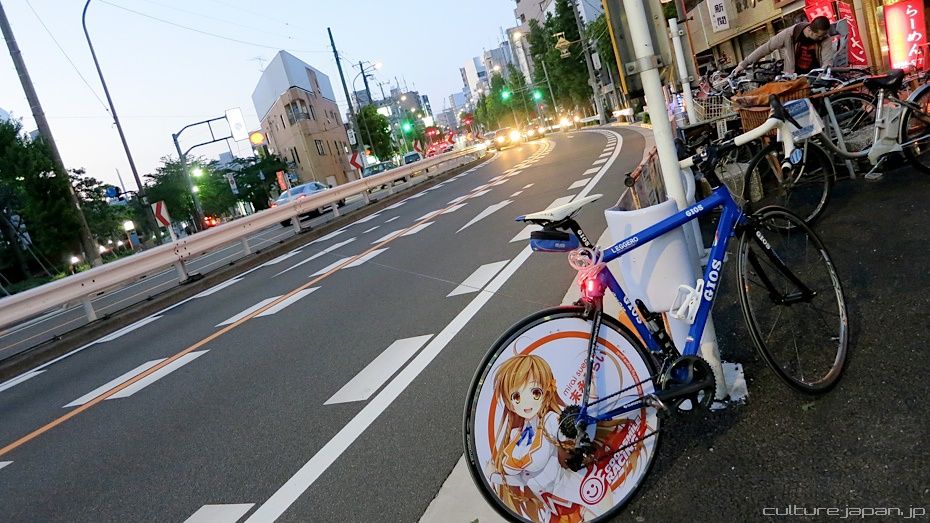
Taking the Itachari out for a spin in the evening.
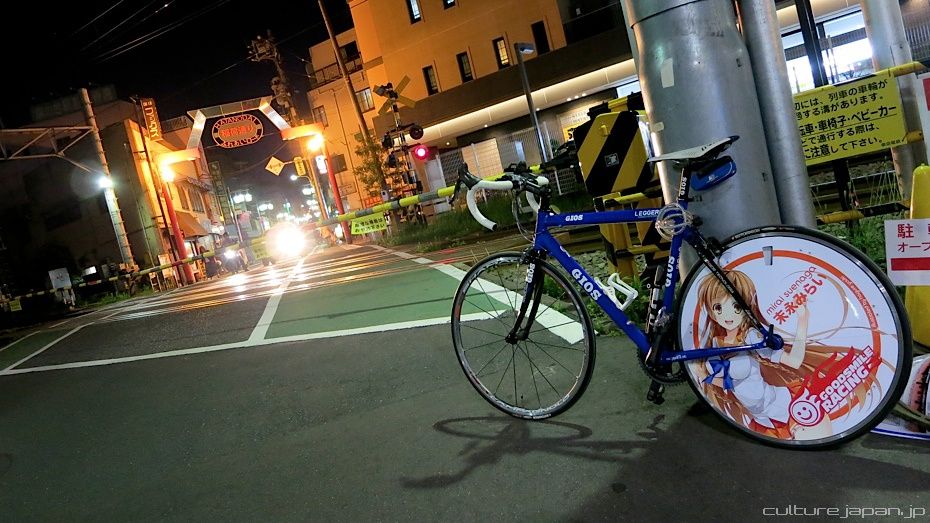
Certainly looks better after Itarization!
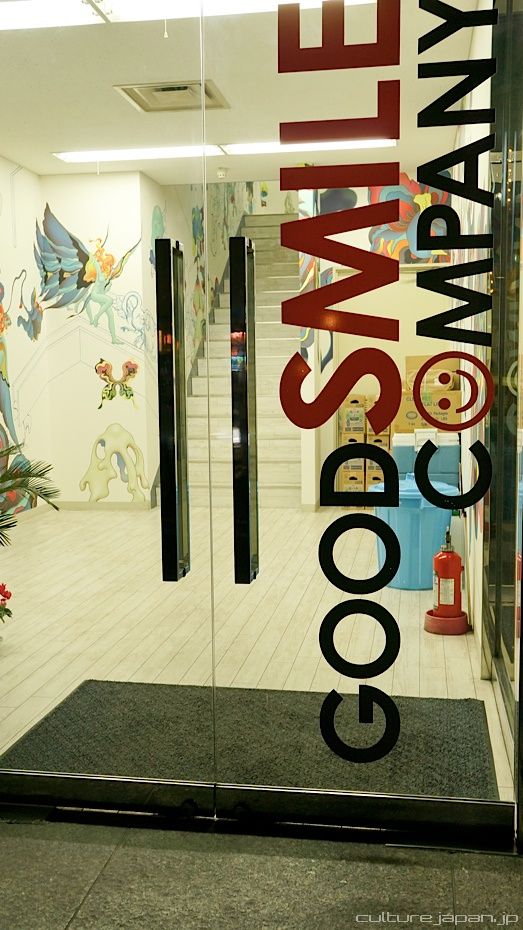
Going back in time to see where I got the bike from. Tonight we are at the Good Smile Company offices.
Gorgeous entrance!

Very cute Miku to greet us.
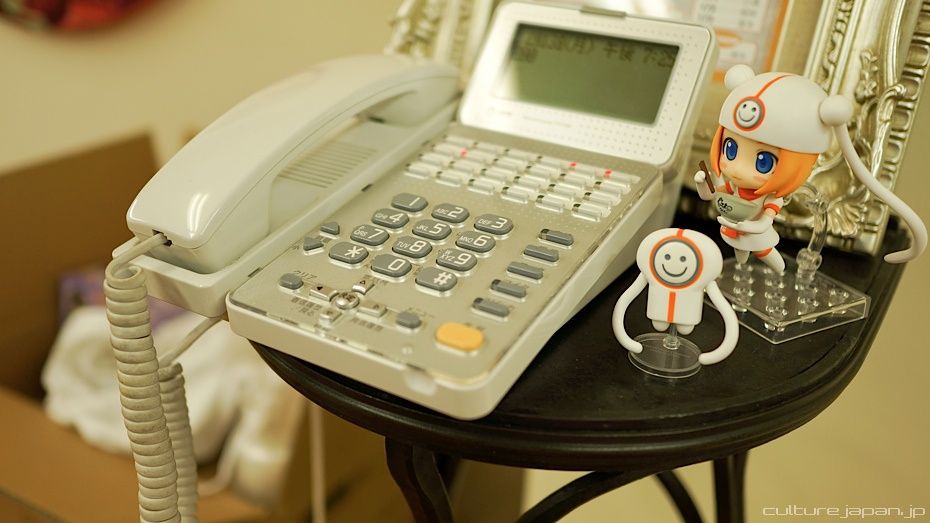
Reception phone guarded by Gumako.
And there it is!
As you have read, I have spinal hernia which means that my back is pretty much in constant pain. The Good Smile Company boss and comrade Aki Takanori was telling me about somebody who cured his spinal hernia after regularly exercising using a road bike. Then during dinner all of a sudden he said "Take my blue one - I dont use it" and I was like "WHAT?!"
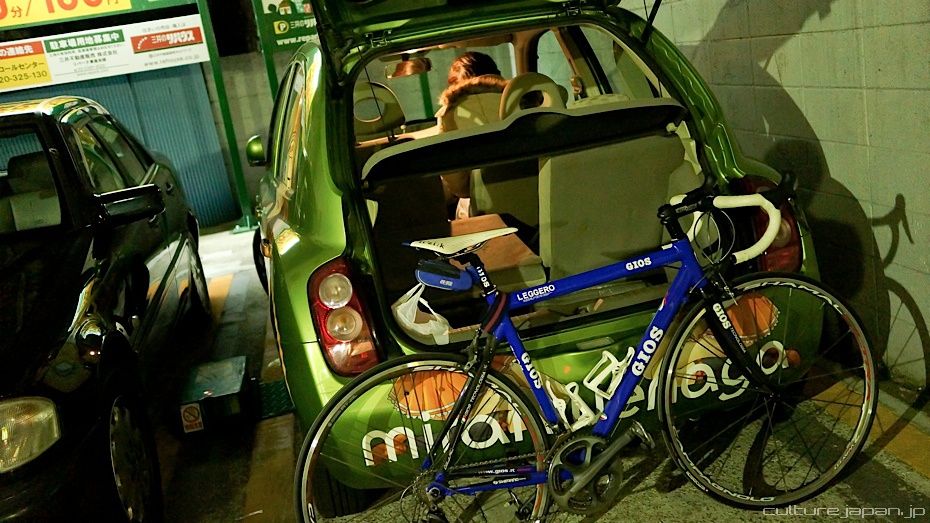
And so reluctantly I took the GIOS of Aki-sans hands - loading it up into our old Itasha to head back to Meguro. How many of you into road biking?
This was back in February just after Wonder Festival. This was also the evening where we decided that we would work together to change the way Japanese language was taught - a few months later Moekana was released and due to the success it became the start of a series - the booster pack followed shortly and later on this year we have Moekanji.
I always look up to Aki-san - an inspiration of mine. Thank you for everything Aki-san!